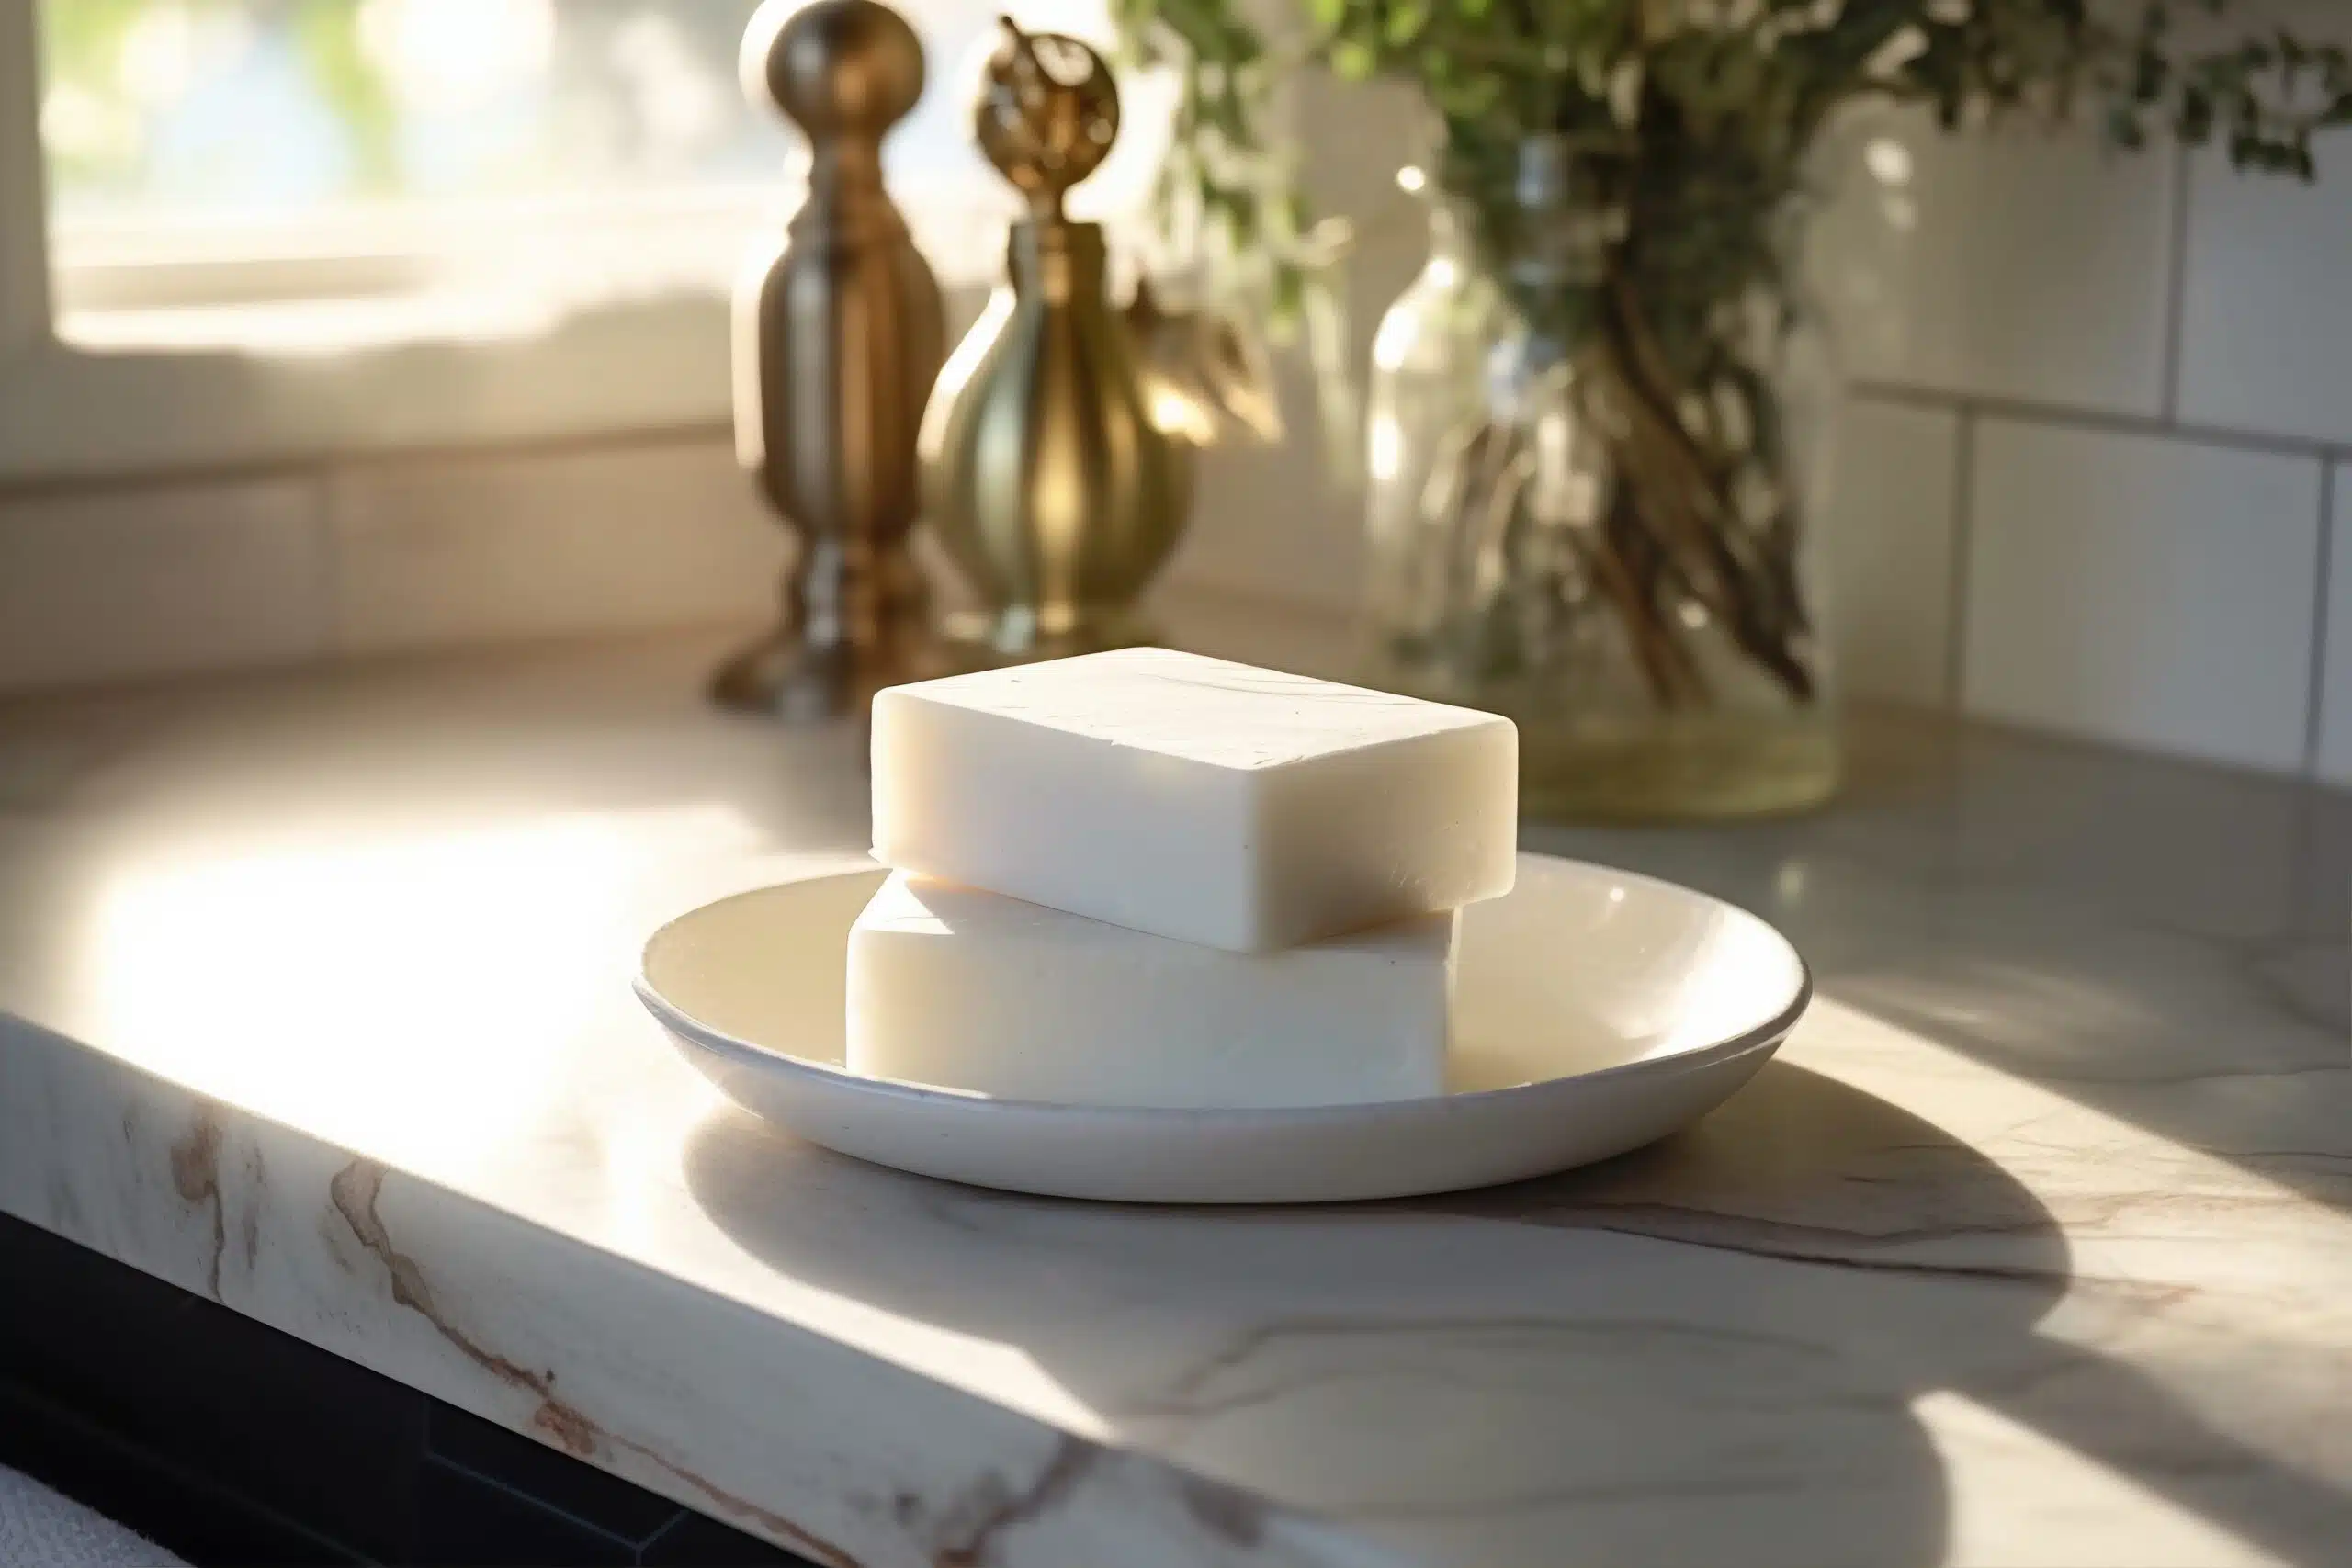
Easy Goat milk Soap Recipe in 2025
Do you know one of my favorite DIY soap recipes is the Goat Milk Soap Recipe? It is because it has many skin benefits, like being gentle for sensitive skin, deep moisture, and rich in nutrients like Vitamin A, Vitamin D, Vitamin E, and more.

If you are tired of using chemical soap from the store, which is labeled as healthy for the skin or something like that, we all know that it is not true. Do you even know that a lot of soap brands use cleaners and synthetic detergents, not soap.
Nowadays, people are becoming aware of this chemical soap and are going towards natural and homemade products, which is the best choice. The goat milk soap recipe is very easy to make; you don’t even need soap-making experience to make it. Trust me!
Benefits of goat milk soap
Goat milk soap is best because it keeps the skin soft and moisturized. The natural fats in goat milk help lock in moisture, so your skin doesn’t feel dry like it does with regular soap. It’s gentle and works well for all skin types, even sensitive skin.
It also has important vitamins like A, D, and E, which help keep skin healthy. The lactic acid in goat milk removes dead skin, making your skin look fresh and smooth. If you have acne or irritation, this soap cleans without causing any harm.
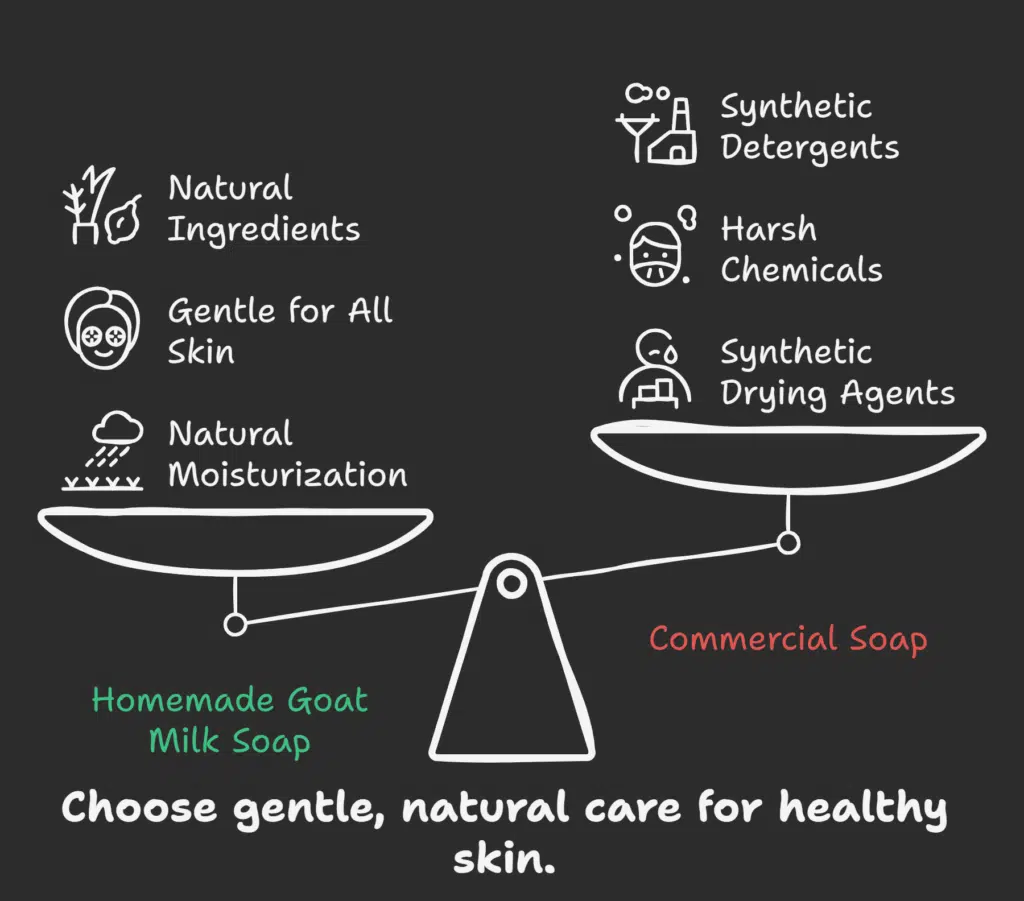
Commercial soap includes cleaners and synthetic detergents and harmful chemicals, whereas this homemade soap is made with natural ingredients and has no harsh chemicals. There are no chemicals, just pure, skin-friendly Soap. If you want a gentle and nourishing soap, goat milk soap is the best choice for you.
There are so many benefits to homemade goat milk soap. If I write them all here, then this post will get too long. So, I will share more details about its benefits in a separate post.
SUPPLY
Before starting, make sure you have the right tools:
- Digital Scale
- Heat-resistant glass or plastic container
- Stainless steel or wooden spoon
- Hand Blender
- Soap Mold
- Thermometer
- Gloves & Goggles
Ingredians
- Goat milk (frozen) – 6.5 oz
- Olive oil – 12 oz
- Coconut oil – 8 oz
- Shea butter – 5 oz
- Castor oil – 2 oz
- Lye (sodium hydroxide) – 3.77 oz
- Essential oils (lavender, honey, or anything you like) – 1 oz
The Goat Milk Soap Recipe Process
We are going to use the cold process soap method. But don’t worry, even if you don’t know about it, you can still make goat milk soap easily!
If you would like to learn more about cold process soap, check out my Simple Cold Process Soap Recipe, where I explain everything in detail.
Step 1: Freezing the Goat Milk
I always freeze my goat milk in ice cube trays before adding lye. This helps prevent it from burning and turning orange.
Step 2: Mixing Lye and Goat Milk
Just for your knowledge, Lye can burn your skin, so be careful while dealing with it. Wear gloves and goggles. Use a digital scale to measure the lye perfectly, then slowly add the lye to the frozen goat milk cubes, stirring gently. There is one tip I’ve found that is helpful: placing the container (where you mix lye and frozen goat milk like a bowl) in an ice bath helps keep the temperature under control and prevents the milk from turning orange or smelling bad.
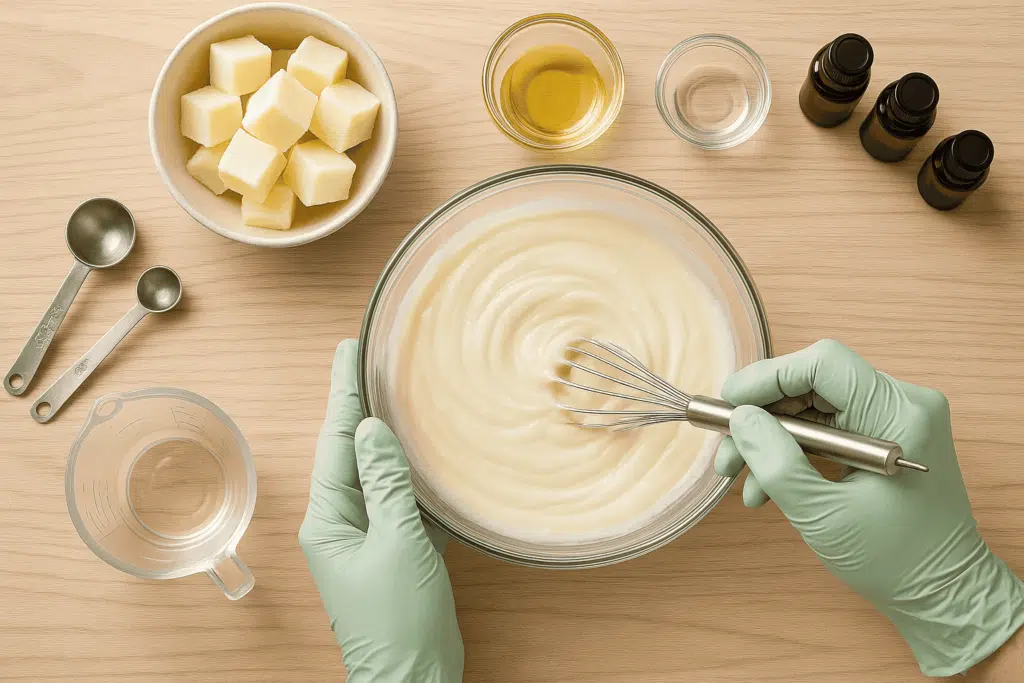
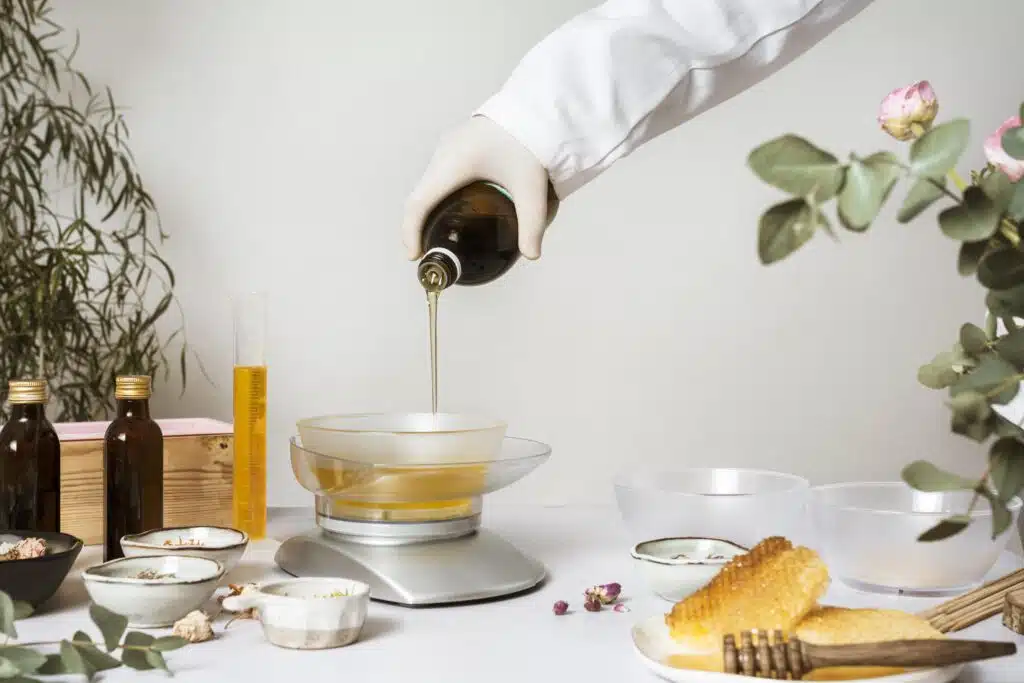
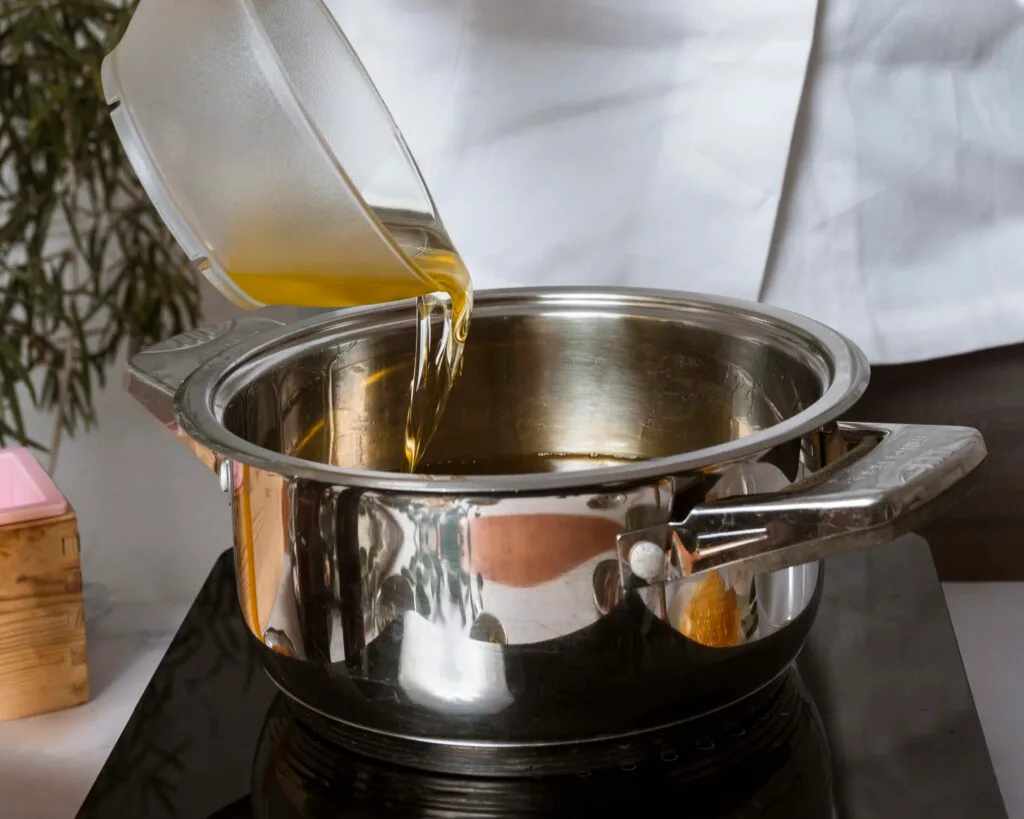
Step 3: Melting the Oils
Use a digital scale to measure the coconut oil, shea butter, and castor oil perfectly, then add them to another bowl. Then, melt this mixture of oils over low heat until they become completely liquid. Stir gently to make sure everything melts perfectly. Don’t overheat if you do, it will affect the soap texture and it will make soap worse. Turn off the heat, then add the olive oil and mix well.
The oils should have a smooth, thin consistency, similar to warm cooking oil. Let them cool to around 90-100°F (32-38°C) before mixing with the lye mixture.
If the oils are too hot, they will cause the soap to thicken very quickly, or it will overheat in the mold (meaning it will develop cracks or a rough texture while curing).
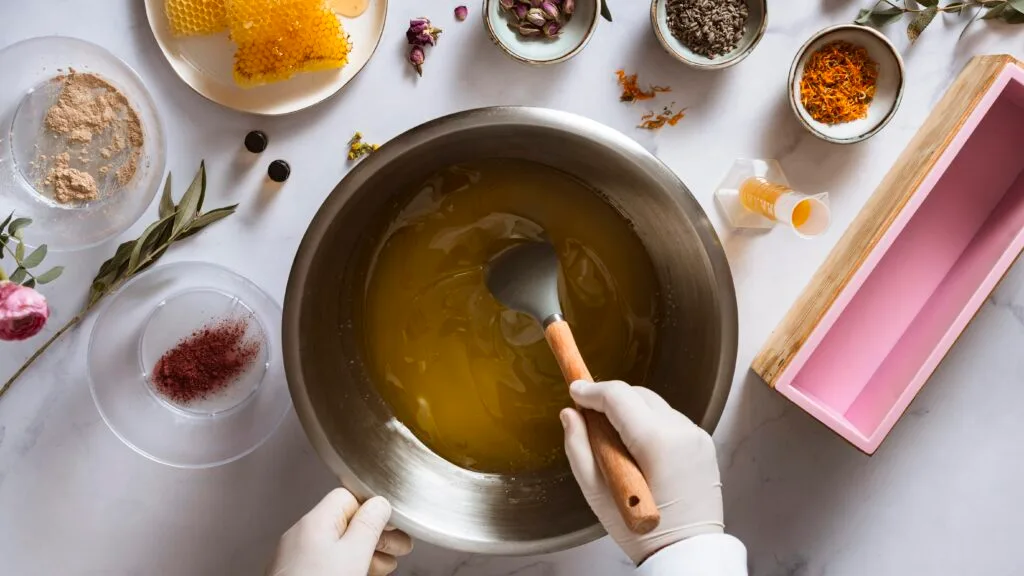
Step 4: Mix Everything
Once the lye-milk mixture cools a bit, pour the mixture of oil into the lye-milk mixture and blend everything with a hand blender. After a few minutes, you will get that lovely, pudding-like consistency that means it is ready for the next step.
Step 5: Adding Scents & Pouring Into Molds
Depending on my mood, I choose lavender for relaxation or peppermint for a fresh scent.
After choosing your scent, mix it well into the lye and oil mixture. You can use essential oils or fragrance oils, and each has its own benefits. Essential oils are natural and have skin benefits, while fragrance oils are for long-lasting and unique scents.
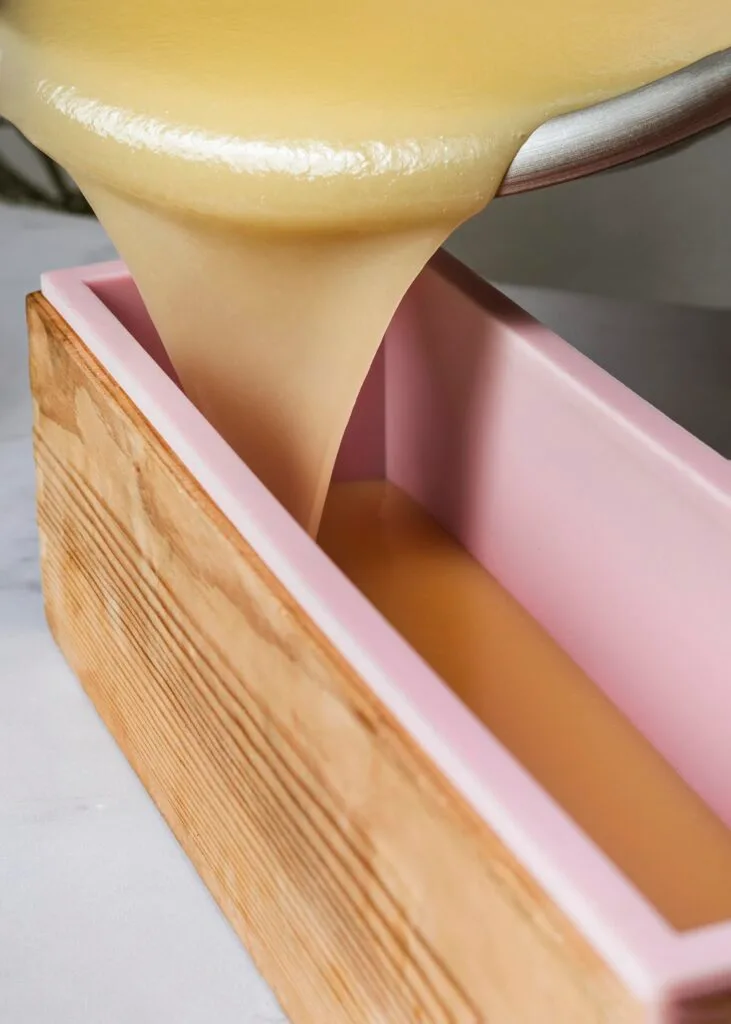
Then, pour the mixture into the silicone molds and make sure that you tap the mold gently on the counter to remove any air bubbles. Cover it with a towel or cardboard to keep the heat in, and let it sit for 24 hours at room temperature, and don’t disturb it.
Step 5:The Curing Process
Over time, I have learned that patience is key. Goat milk soap needs 4 to 6 weeks to cure properly. If you rush the process, the soap will be soft, dissolve quickly, and it will not last long.
I place the soaps on a drying rack with some space between them so air can flow around each bar. This helps them dry evenly and harden properly. Every few days, I flip them over for an even curing.
Storing Homemade Goat Milk Soap
One thing I always tell new soap makers is that storage matters! To keep my bars fresh and long-lasting, I always use a draining soap dish to prevent them from getting soggy and melting too fast. I also store them in a cool, dry place, as humidity can cause the soap to sweat.
For long-term storage, I wrap the bars in wax paper and keep them in a breathable container. This helps them stay dry and ready to use whenever I need them.
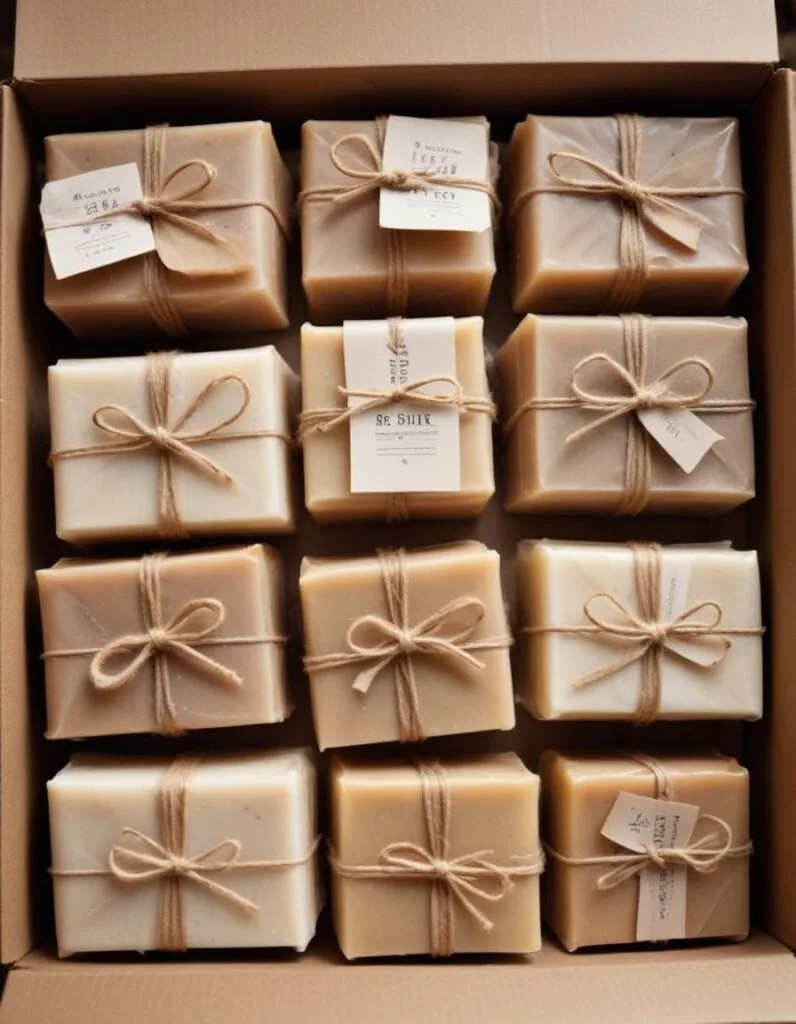
Conclusion
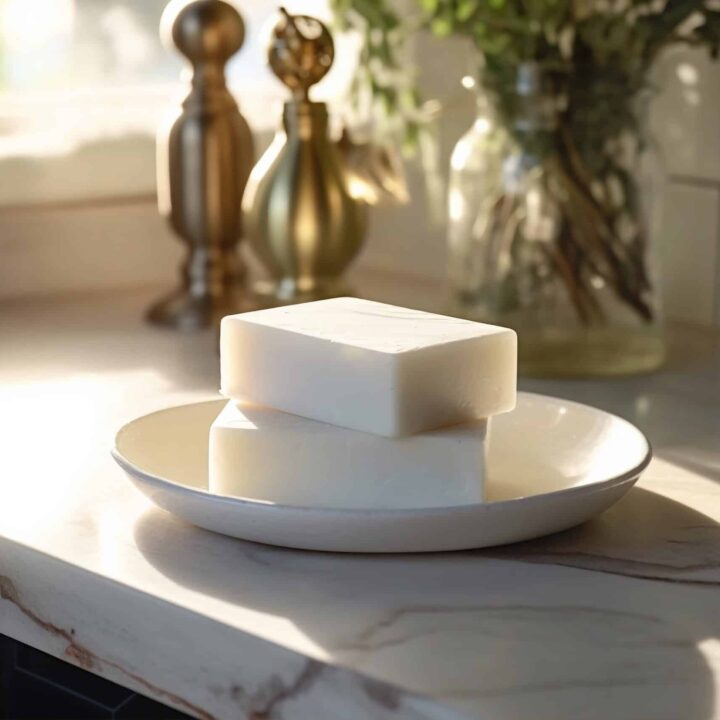
Soap-making has taught me that patience and the right techniques make all the difference. From carefully mixing lye with frozen goat milk to curing the bars for weeks, every step matters. But in the end, the result is always worth it a creamy, skin-loving, chemical-free soap that lasts long and feels amazing.
You can experiment with scents, take your time, and don’t rush the curing stage.
Goat Milk Soap Recipe
Ingredients
- 10 oz Goat Milk Cubes (Frozen)
- 12 oz Olive Oil
- 8 oz Coconut Oil
- 5 oz Shea Butter
- 2 oz Castor Oil
- 3.77 oz Lye (Sodium Hydroxide)
- 1 oz Essential Oil or Fragrance Oil
Instructions
1. Prepare the Goat Milk & Lye
- Wear gloves and goggles for safety.
- Slowly add lye to frozen goat milk (never the other way around!). Stir gently.
- Place the container in an ice bath to prevent overheating.
2. Melt the Oils
- In another bowl, melt coconut oil, shea butter, and castor oil over low heat.
- Stir gently and avoid overheating.
- Once melted, remove from heat and add olive oil. Mix well.
3. Combine Lye and Oils
- Let both the lye mixture and oils cool to 90-100°F (32-38°C).
- Slowly pour the lye mixture into the oils, stirring continuously.
4. Blend to Trace
- Use an immersion blender and mix in short bursts until it thickens to a pudding-like consistency (trace).
5. Add Fragrance & Pour into Molds
- Mix in essential oil or fragrance oil.
- Pour the mixture into silicone molds, tap to remove air bubbles, and let it sit for 24 hours at room temperature.
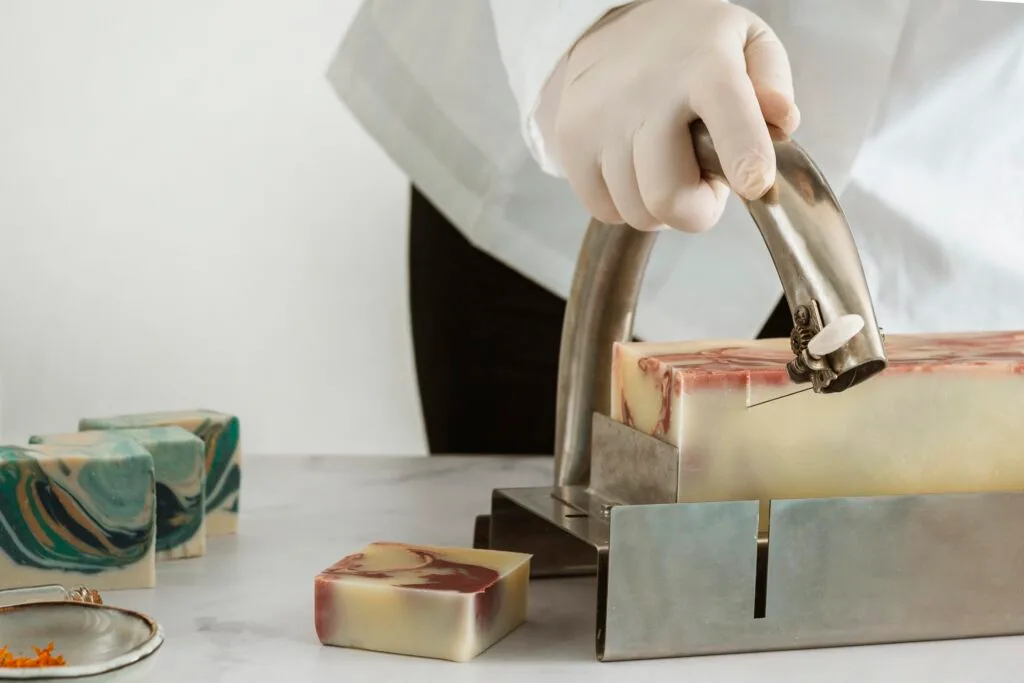
6. Unmold & Cure
- Remove the soap from the mold and place on a drying rack.
- Let it cure for 4-6 weeks, flipping the bars every few days for even drying.
Notes
✅ Always freeze goat milk before adding lye to prevent scorching.
✅ Lye is caustic – wear gloves, goggles, and long sleeves to avoid burns.
✅ Always add lye to liquid, never liquid to lye to prevent dangerous reactions.
✅ Work in a well-ventilated area to avoid inhaling lye fumes.
✅ Use heat-resistant containers when mixing lye, as some materials can melt.
✅ Keep soap-making supplies separate from food utensils for safety.
✅ Use a draining soap dish to make bars last longer.
✅ Store extra bars in wax paper inside a ventilated box.
FAQs About Goat Milk Soap
1. Can I use fresh goat milk instead of frozen?
Freezing the goat milk first helps prevent it from burning and turning orange. It’s the best way to keep your soap smooth and fresh.
2. Do I need lye to make soap?
Yes, lye is needed to turn oils into soap. Without it, you’re just making a cleanser, not real soap. If you don’t want to use lye, try melt-and-pour soap bases instead.
3. How long does goat milk soap take to cure?
Let it cure for 4 to 6 weeks so it hardens and lasts longer. Rushing this step can make the soap soft and melt too fast.
4. Why is my soap too soft?
Your soap might need more drying time. High humidity, too much liquid, or not enough hard oils (like coconut oil) can also make it soft.
5. Can I use fragrance oils instead of essential oils?
Yes! Fragrance oils last longer and come in more scents, while essential oils are natural and may have skin benefits. Both work well.
6. How should I store my goat milk soap?
Use a soap dish with drainage so it doesn’t get soggy. For long-term storage, wrap it in wax paper and keep it in a box with air holes in a dry place.
7. Is goat milk soap good for sensitive skin?
Yes! It’s gentle and moisturizing. If you have sensitive skin, choose mild essential oils like lavender and avoid strong fragrances.