How To Make Wooden Wick Candle At Home 2025
I remember that two years ago, I wanted to try a unique DIY candle that smelled good and also helped me to relax. That is when I learned about wooden wick candles. Then I thought, “Let’s give it a try.” It came out best, even after I failed a few times. So, today we are going to learn how to make wooden wick candle at home.
Trust me, making your candle is easier than you think. And when you light your homemade wooden wick candle, the soft crackle and warm glow create the perfect cozy moment with your favorite book and a cup of coffee or tea (I’m a coffee person!), and it is very relaxing after such a long day.
Whether you are a complete beginner or someone who already has some experience in candle making, I will walk you through the process step by step. Plus, I will share a few helpful tips and tricks along the way to make your candle-making easy and simple.
What is special about a homemade wooden wick candle
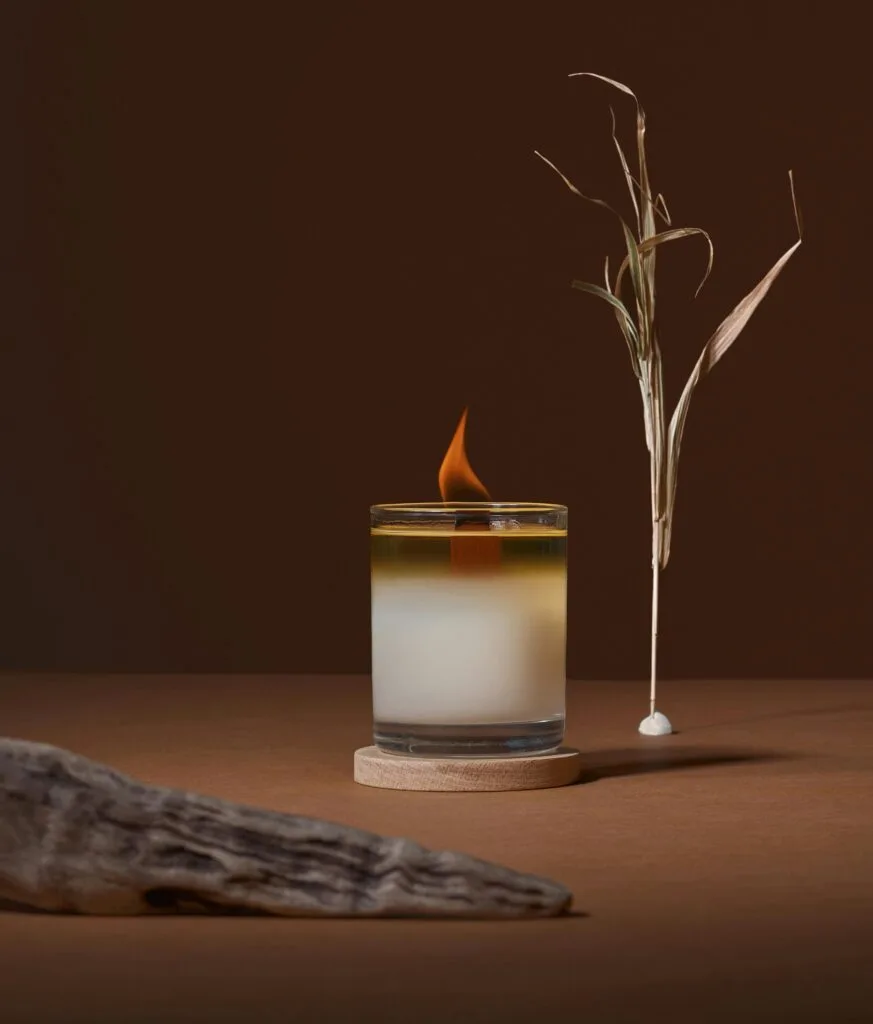
Wooden wicks are like a little upgrade for candles. One of the best things about them is the gentle crackling sound they make, it is like having a tiny fireplace right next to you, and it is kind of satisfying and relaxing, also an instant mood booster for quiet evenings or self-care time or after a long day of work.
A wooden-wick candle can burn evenly. The wide flame looks warm and pretty, and it helps melt the wax all the way across so you don’t waste any.
Another good thing is that they are natural. Most wooden wicks are made from real wood; because of that, they don’t make much smoke if you trim them right. That means cleaner air and cleaner candle jars.
And let’s be honest, here they also look good and premium. Whether you are making candles or buying them, wooden wicks add that stylish, elegant touch that makes your candle look premium. They are a perfect candle for you if you are into cozy vibes and pretty home decor.
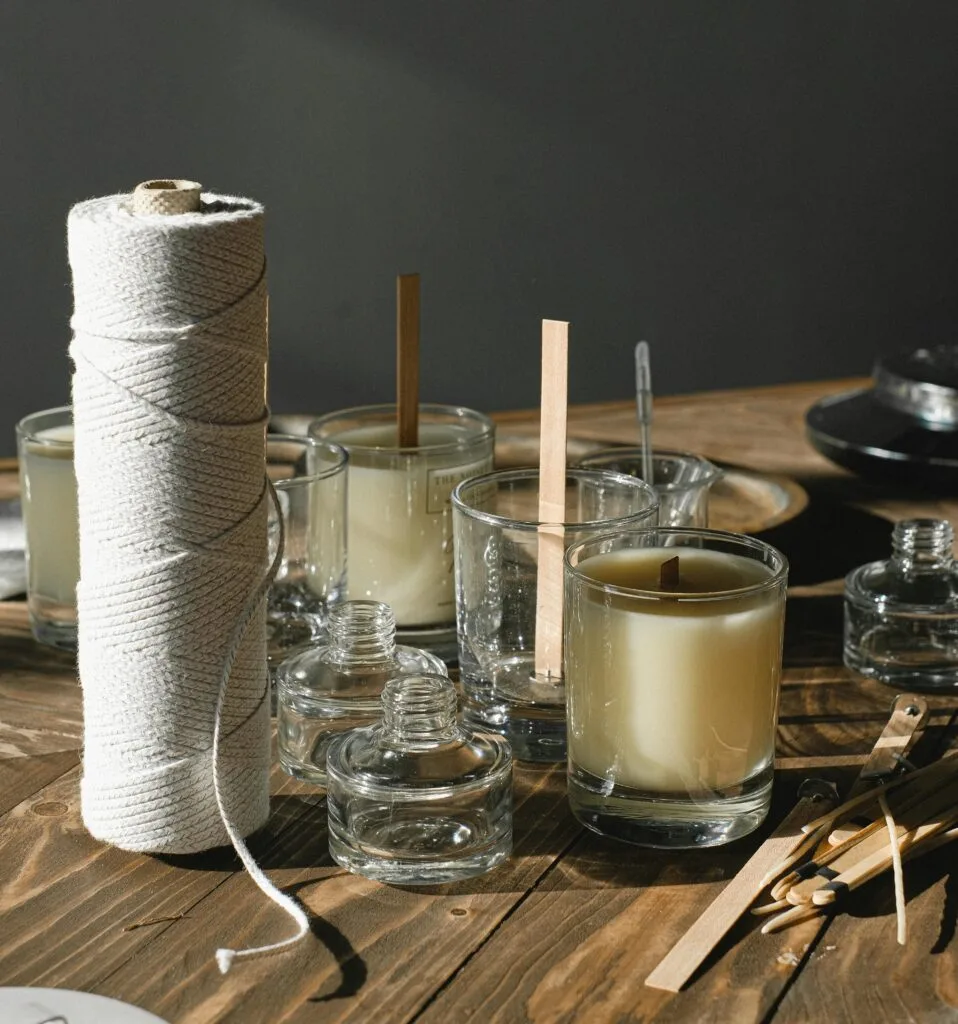
Supplies
- Wooden wick (with a metal clip)
- Candle wax (soy wax, paraffin wax, beeswax, etc.)
- Glass Gar
- Fragrance oil
- Wick sticker or hot glue gun
- Measuring cup or pouring pitcher
- wooden skewer
- Double boiler
How To Make Wooden Wick Candle At Home Step By Step
Step 1: Stick the Wick
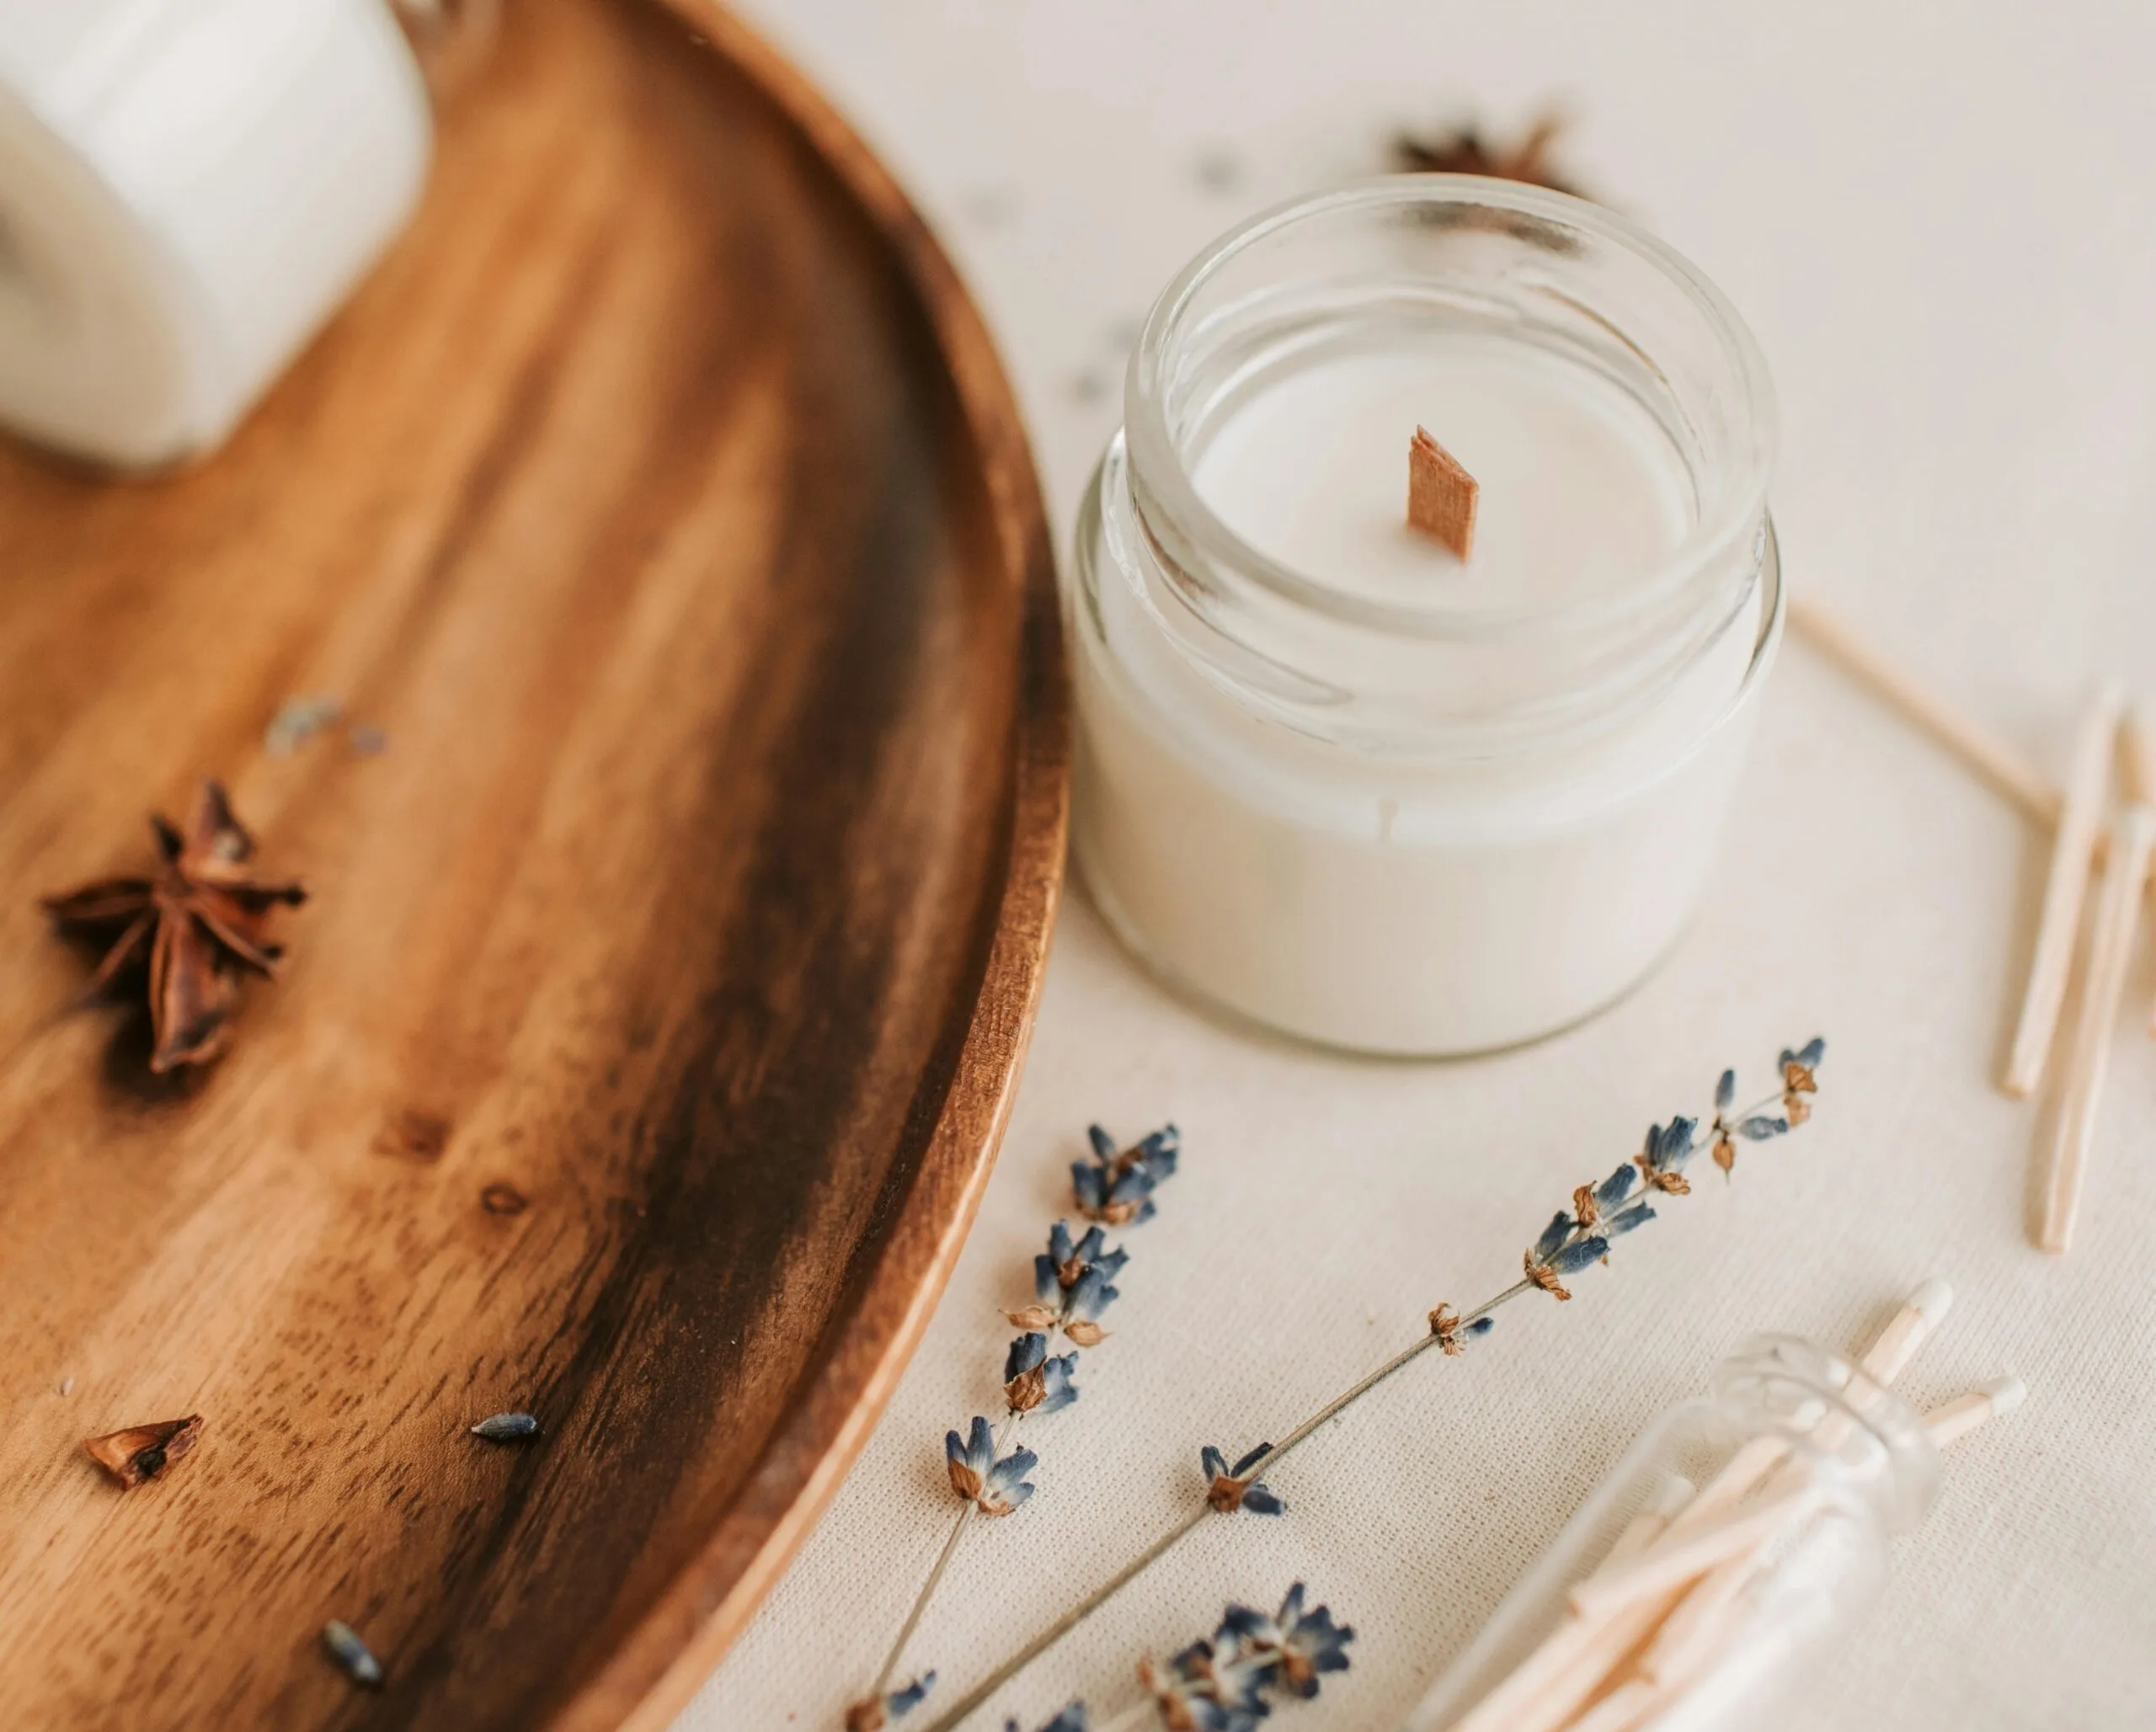
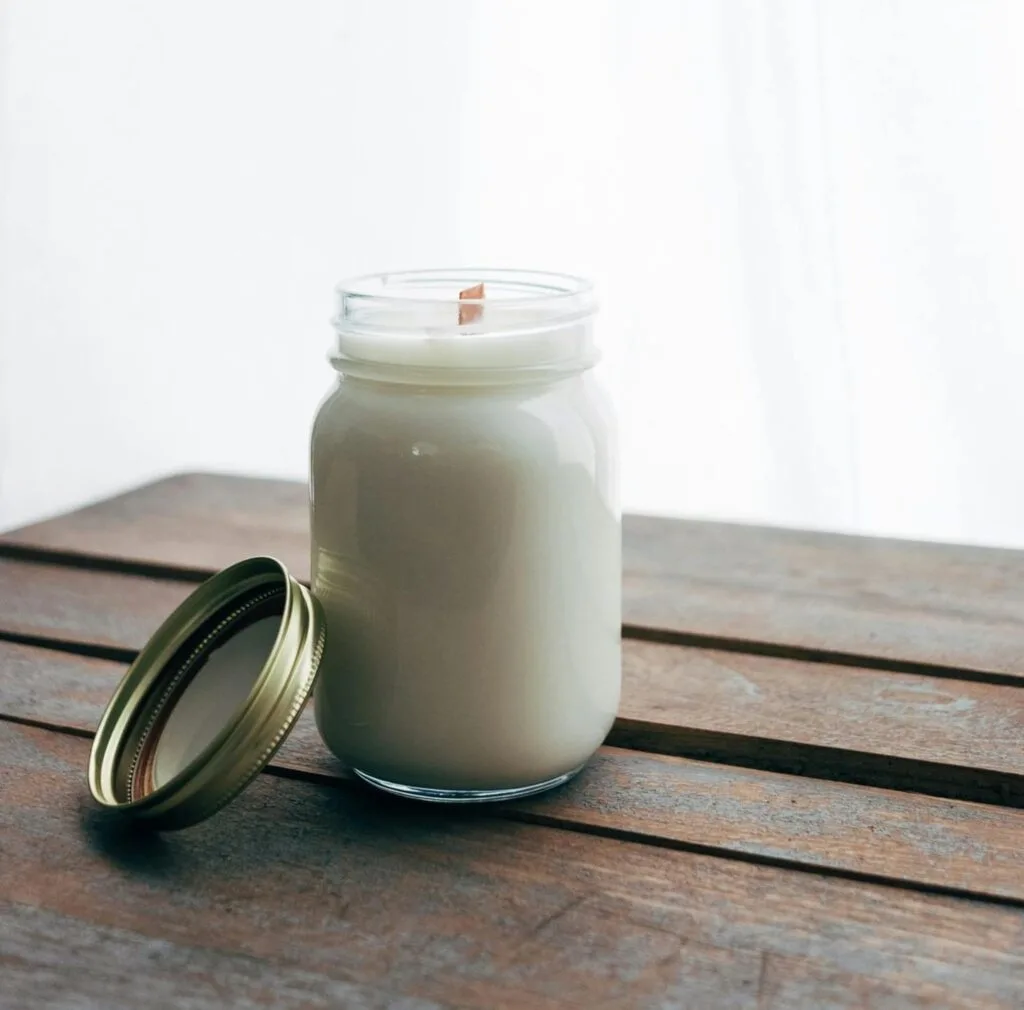
Let’s start by attaching the wooden wick to its metal clip. Then use a wick sticker or hot glue to stick it to the center of your Glass Jar. Make sure it stands up straight.
Step 2: Melt the Wax
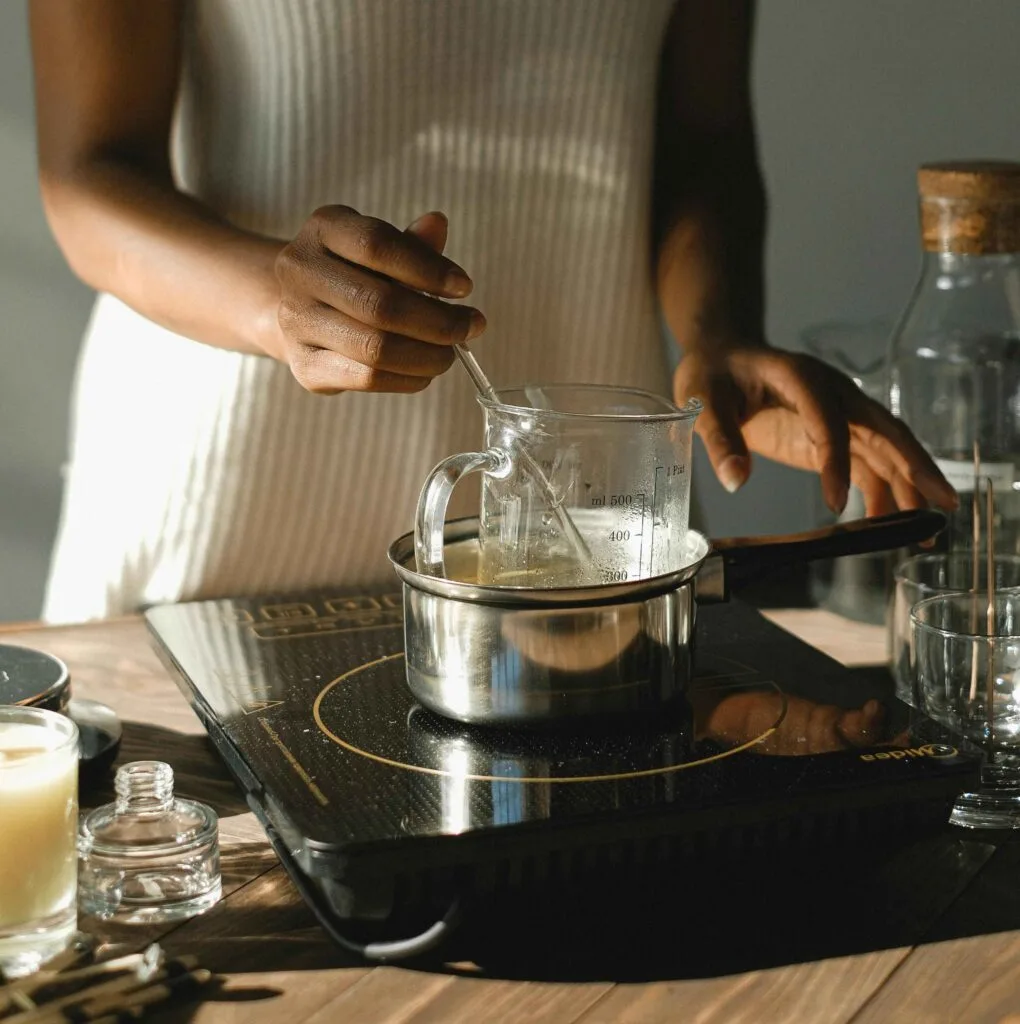
Melt your wax using a double boiler (a heat-safe bowl over a pot of boiling water). If you want to melt, you can also use the microwave in short bursts. Stir between each burst to help it melt evenly.
Step 3: Add Fragrance
If you like your candle to smell amazing, now is the time to add fragrance oil. Once the wax is fully melted and just starting to cool, add fragrance oil, then stir it nicely. Here is a tip: Use about 1 ounce of fragrance oil for every pound of wax.
Some Fragrance ideas are Vanilla, Cinnamon, Orange & Clove, Pumpkin Spice, etc. If you ask me what fragrance I like, then it is orange and vanilla.
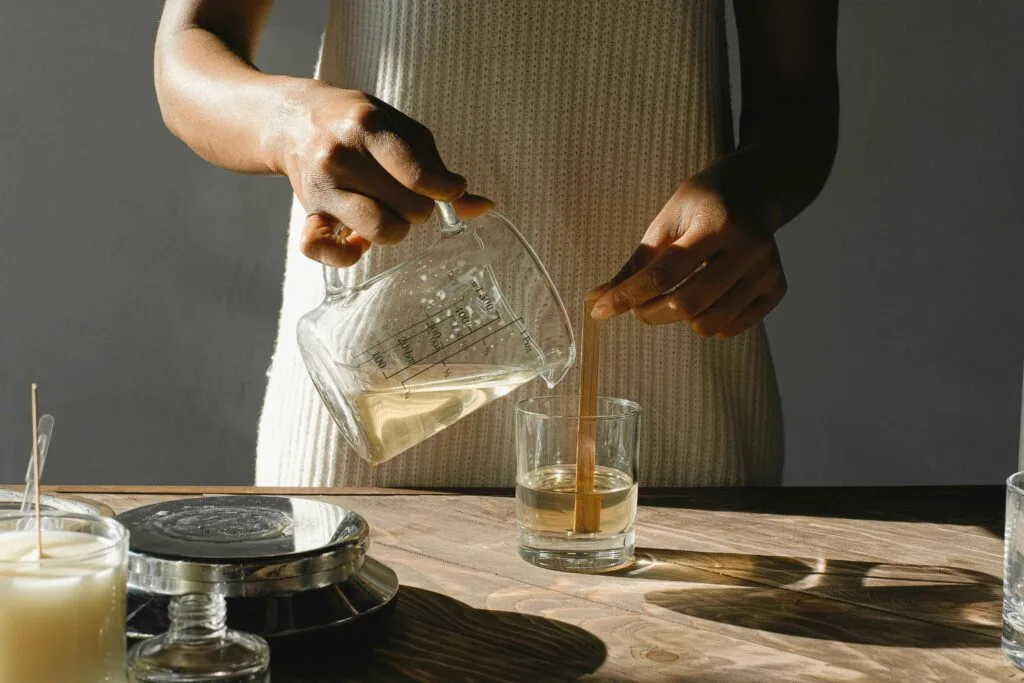
Step 4: Pour the Wax
Now, it’s time to let the wax cool for a few minutes. Then carefully pour wax melt into your container, holding the wick steady. Leave about half an inch of space at the top.

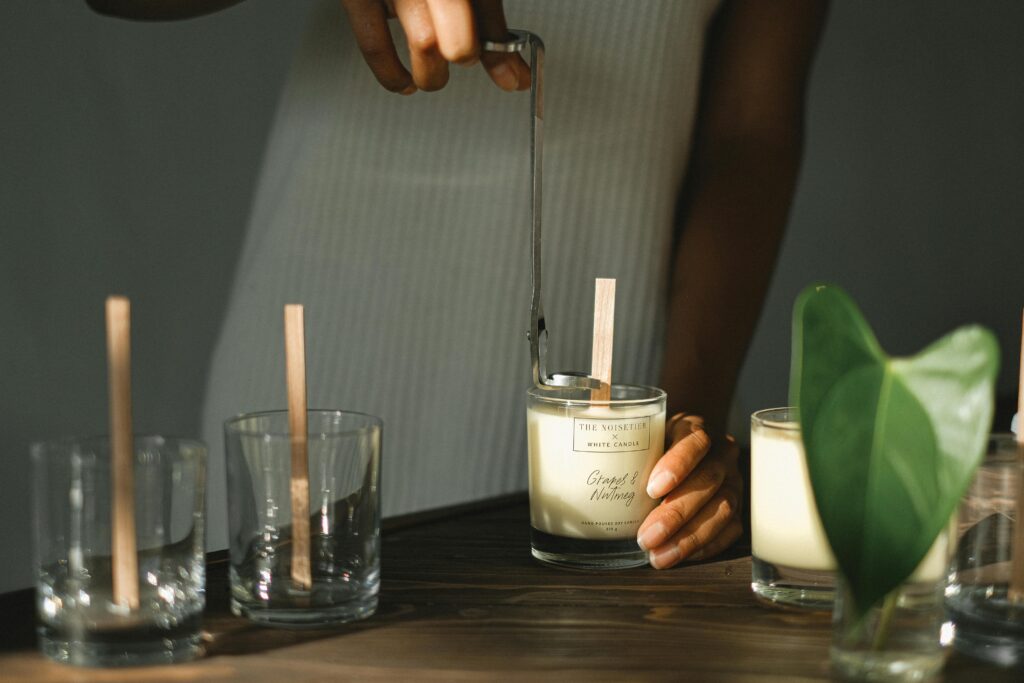
Step 5: Hold the Wick in Place
After you have poured the melted wax into your container, it is important to make sure the wooden wick stays straight and centered. If the wick leans or moves while the wax is still liquid, it could cause the candle to burn unevenly later on.
To keep the wick straight, place two chopsticks, pencils, or even ice cream sticks across the top of the container like a little bridge. Gently slide the wooden wick between them so it stands upright. Then, let the candle rest undisturbed for a few hours or overnight until the wax is fully set.
Step 6: Trim the Wick
Once the wax has set, trim the wick down to about 1/8 inch (around 3–5 mm). Wooden wicks need to be short enough to burn properly for too long, and the flame will flicker out.
Step 7: Let It Cure
If someone is new to candle making or a beginner and they don’t know about curing, then I got you covered. In candle making, “cure” simply means letting the candle sit for a certain amount of time after it is made so the wax and fragrance blend properly. This helps the candle perform better when you burn it, especially if you added fragrance oil.
It is best to let the candle cure for 1–2 days.
Tips for Burning Wooden Wick Candles
- Always trim the wick before each burn.
- Let the wax melt to the edges during the first burn. This helps prevent tunneling (when wax only melts in the center).
- Keep the candle away from fans or open windows to avoid uneven burning.

Personalize Your Candle
Do you know what the best part of candle-making at home is? Adding your twist! Here are some ideas:
- Add dried flowers or herbs (just make sure they’re candle-safe and not too close to the wick).
- Use colored wax for a beautiful look.
- Choose seasonal scents like cinnamon for fall or lavender for spring.
- You can even reuse old candle jars or mugs to give your candle a unique touch.
Conclusion
Making a DIY wooden wick candle is a fun and relaxing project. It does not take a lot of time and is also very easy to make. Whether you are making one for yourself, giving it as a gift, or planning to start a little side hustle, wooden wick candles are always a great idea.
Now you have learned how to make a wooden wick candle, so next time you need a break or want to get creative, grab your supplies and give candle-making a try.
FAQ
1. What is a DIY wooden wick candle?
A DIY wooden wick candle is a candle you make at home using a wooden wick instead of the usual cotton wick. It gives a soft crackling sound when it burns and adds a cozy feel to any room.
2. Is it hard to learn how to make a wooden wick candle at home?
Not at all! Making a wooden wick candle at home is actually simple and fun. With a few basic supplies like wax, a container, a wooden wick, and fragrance oil, you can make your own candle, even as a beginner.
3. Why does my wooden wick keep going out?
If your wooden wick won’t stay lit, it might be too long or too short. Make sure to trim it to about 1/8 inch (3–5 mm). Also, don’t pour too much wax over the wick it needs room to breathe.
4. What type of wax is best for a DIY wooden wick candle?
Soy wax is one of the best options for a DIY wooden wick candle. It’s clean-burning, easy to work with, and holds fragrance well, making it perfect for homemade candles.
5. How long should I wait before lighting my candle?
After you make your candle, let it sit (or “cure”) for at least 1–2 days if you used fragrance oil. This helps the scent mix well with the wax and gives a stronger smell when you light it.
6. Can I reuse jars to make a wooden wick candle at home?
Yes! You can reuse old candle jars, mugs, or tins just make sure they are clean, heat-safe, and not cracked. Reusing containers is a great way to save money and reduce waste.
7. How long will my DIY wooden wick candle last?
It depends on the size, but most homemade wooden wick candles burn for 20 to 40 hours. Just remember to trim the wick before each burn for the best results.