Ultimate Guide to Coconut Oil Soap Recipe-2025
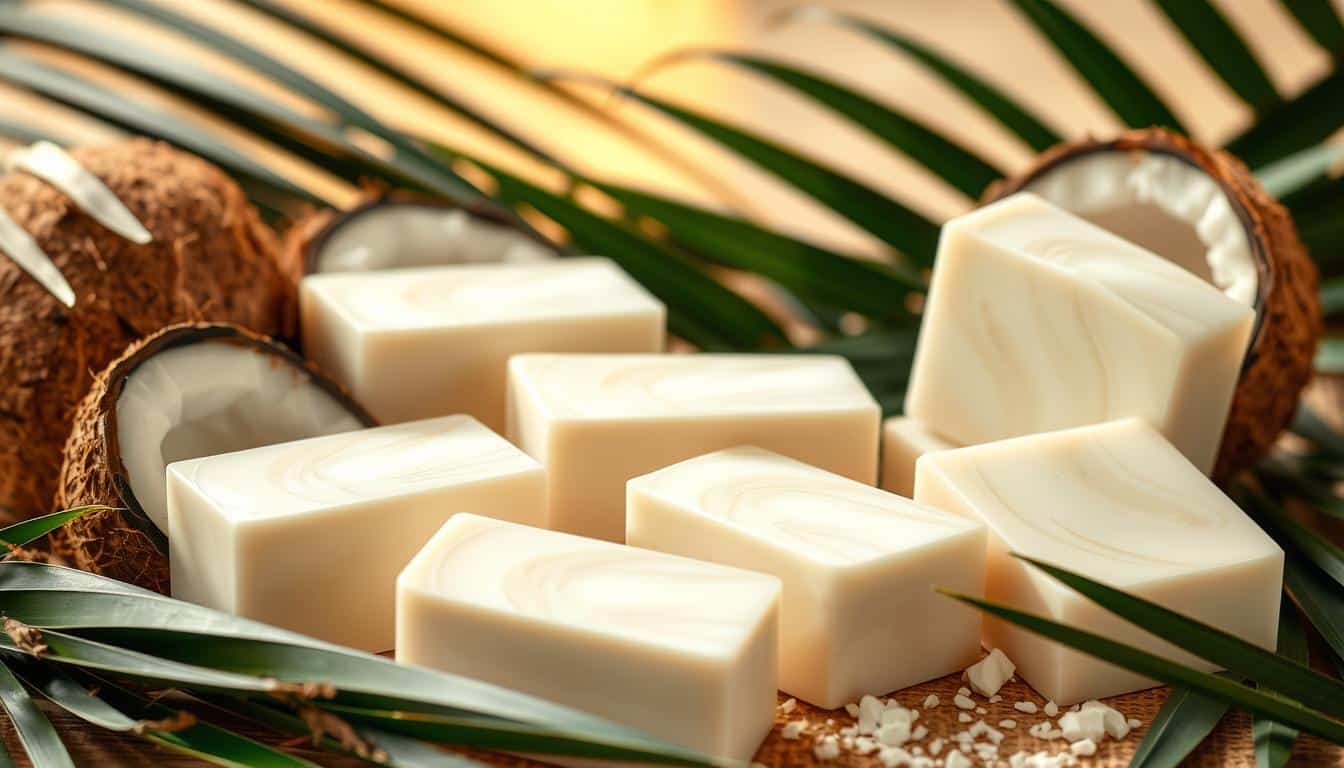
I love making natural products for my skin, and the coconut oil soap recipe is my favorite. It’s rewarding to make something that’s good for my skin and makes me feel accomplished. Coconut oil is great for soap because it’s natural and beneficial for the skin.
I’m excited to share my soap-making journey with you. We’ll cover the basics of making coconut oil soap and its unique qualities. This guide is for both new and experienced soap makers. It will help you make your own natural soap.
We’ll dive into the world of coconut oil soap making together. I’ll share my top tips for making the best homemade soap with coconut oil. We’ll talk about using quality ingredients and customizing your soap recipe. Let’s start our natural soap-making journey and make our own coconut oil soap.
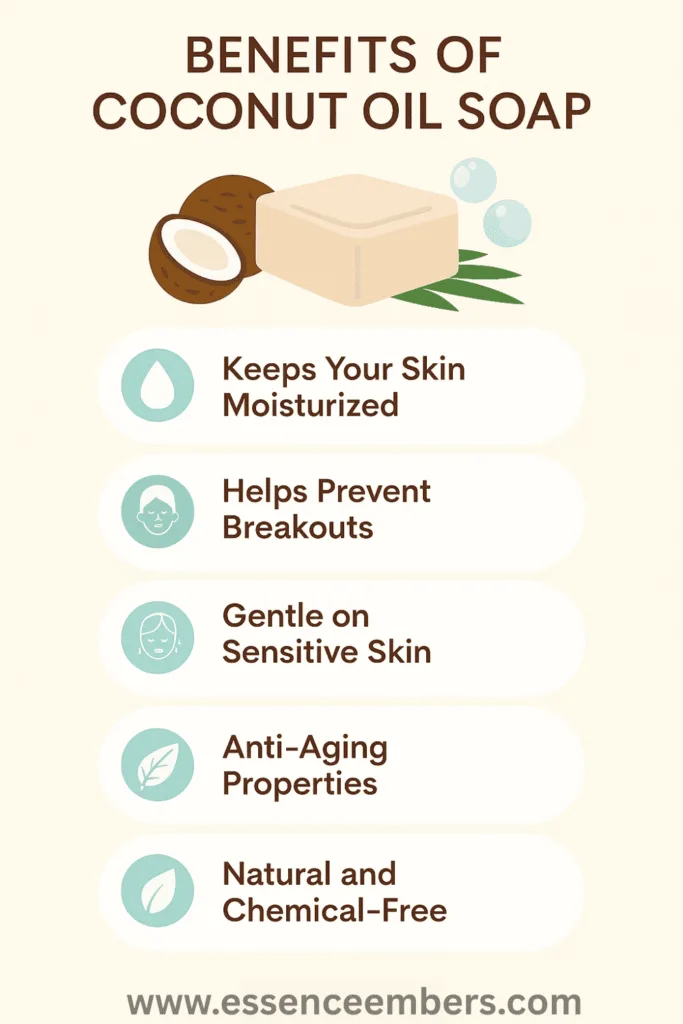
Benefits Of Coconut Oil Soap Recipe
- Moisturizing properties: Coconut oil is rich in fatty acids that help to nourish and hydrate the skin.
- Rich, creamy lather: Coconut oil creates a luxurious lather that is perfect for cleansing and moisturizing the skin.
- Sustainability: Making soap at home reduces waste and allows for the use of eco-friendly ingredients, such as organic coconut oil soap.
If you want to know more about the benefits of coconut oil soap, I have shared everything you need to know in this post!
What Makes This Recipe Special
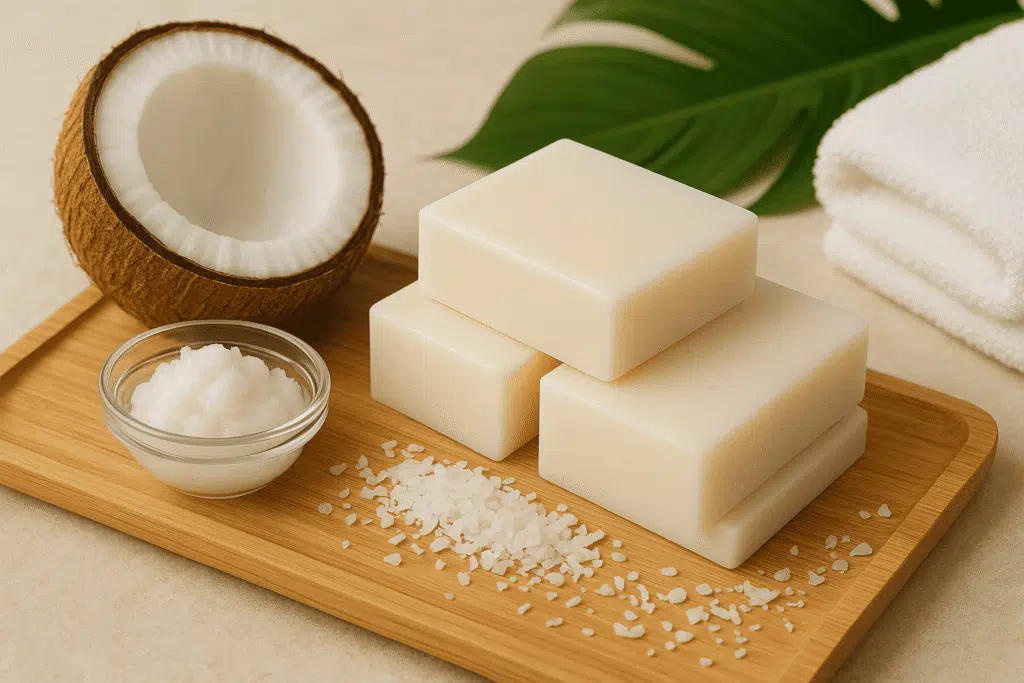
This cold-process coconut oil soap recipe stands out because it uses only natural ingredients. It includes organic coconut oil and a cold process method that keeps the ingredients’ natural properties. This results in a gentle, moisturizing soap that suits all skin types.
Understanding the Basic Chemistry of Soap Making
Making a coconut oil soap recipe means knowing about saponification. This is when oils turn into soap through a chemical reaction with lye.
It’s vital to be safe and use a lye calculator for your coconut oil soap. This ensures your soap turns out right and keeps you safe.
By following these tips and understanding soap-making chemistry, you’re ready to make a great coconut oil soap. Enjoy the process and the benefits of your easy coconut oil soap tutorial
What Exactly is the Saponification Process
The saponification process is complex. It mixes lye with oils, like coconut oil, and heats them. This creates soap and glycerin, a natural result of the reaction.
By following these tips and understanding soap-making chemistry, you’re ready to make a great coconut oil soap. Enjoy the process and the benefits of your easy coconut oil soap tutorial
Safety Considerations
Soap-making is fun and exciting, but since we’re working with lye, safety comes first! Here are a few must-follow precautions to keep things safe and stress-free:
✔️ Wear Protective Gear
✔️ Work in a Well-Ventilated Area
✔️ Add Lye to Water (NEVER the Other Way Around!)
✔️ Use Heatproof & Lye-Safe Containers
✔️ Keep Vinegar Nearby
✔️ No Kids or Pets Around
✔️ Label & Store Lye Properly
By following these precautions, you’ll have a smooth and safe soap-making experience. 🧼✨
Equipment You’ll Need
Before making your coconut oil soap, gather the necessary tools and equipment. Proper equipment ensures safety and efficiency in the soap-making process.
| Tool | Purpose |
|---|---|
| Digital Scale | Ensures precise measurement of oils, lye, and water. |
| Heatproof Mixing Bowls | Used for mixing lye solution and oils (glass or stainless steel). |
| Stick Blender | Speeds up mixing and helps reach trace quickly. |
| Soap Mold | Shapes the soap; silicone molds are best for easy unmolding. |
| Thermometer | Shape the soap; silicone molds are best for easy unmolding. |
| Measuring Spoons | Used for adding essential oils, colorants, and exfoliants. |
Safety Gear (Lye Handling Protection):
| Safety Gear | Purpose |
|---|---|
| Gloves | Protects hands from lye burns. |
| Safety Goggles | Shields eyes from potential lye splashes. |
| Long-Sleeved Shirt & Apron | Prevent skin contact with lye and soap batter. |

Ingredients for Coconut Oil Soap (Cold Process Method)
- Coconut Oil (24 oz / 680g)
- Shea Butter (8 oz / 227g)
- Lye (Sodium Hydroxide) (4.6 oz / 130.5g)
- Distilled Water (9-12 oz / 260-340g)
- Optional Add-Ins for Customization:
- Essential Oils (1-2 tsp / 5- 10mL)
- Natural Colorants (1 tsp)
- Exfoliants (1-2 tbsp)
- 💡Tip: Always measure ingredients accurately using a digital scale to ensure the correct balance of oils and lye.
With these simple ingredients, you can create a nourishing, eco-friendly soap that’s perfect for your skin! 🌿
Step-by-Step Making Process
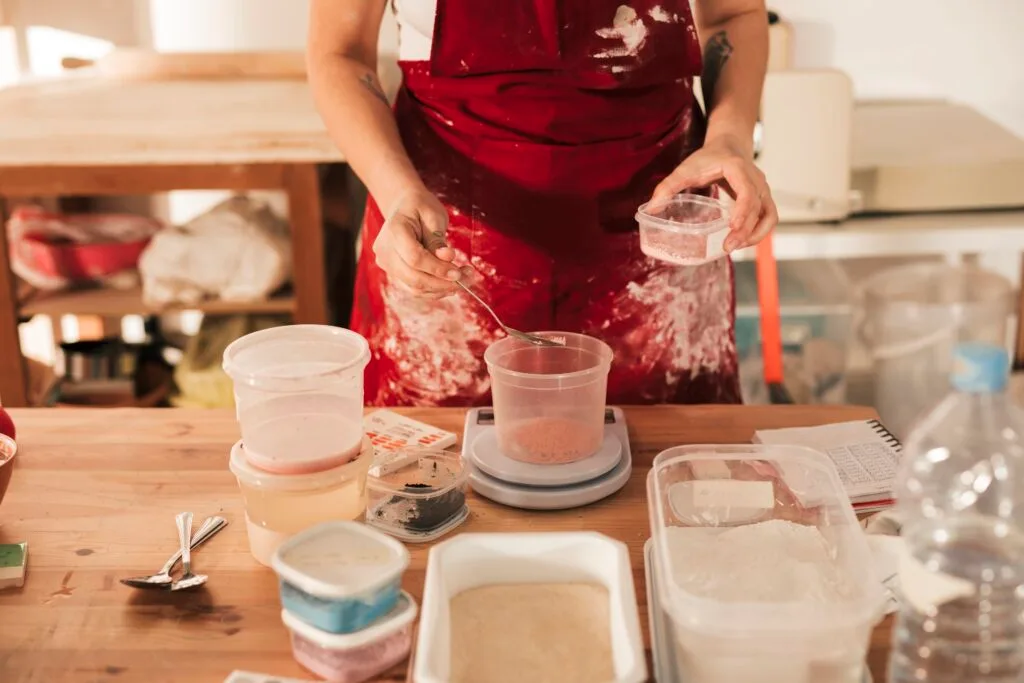
1. Prepare Your Workspace
Soap-making can get messy! I always cover my workspace with old newspapers and keep a bottle of vinegar nearby to neutralize any lye spills. Make sure you’re wearing gloves and goggles before you start.
2. Make the Lye Solution
Carefully measure the lye (4.6 oz / 130.5g) and distilled water (9-12 oz / 260-340g). Slowly add the lye into the water (never the other way around!) while stirring gently. The solution will heat up quickly—let it cool to around 100-110°F (38-43°C).
3. Melt the Oils & Butters
In a separate bowl, gently melt coconut oil (24 oz / 680g) and shea butter (8 oz / 227g) until fully liquid. Let this mixture cool to 100-110°F so it’s close to the temperature of the lye solution.
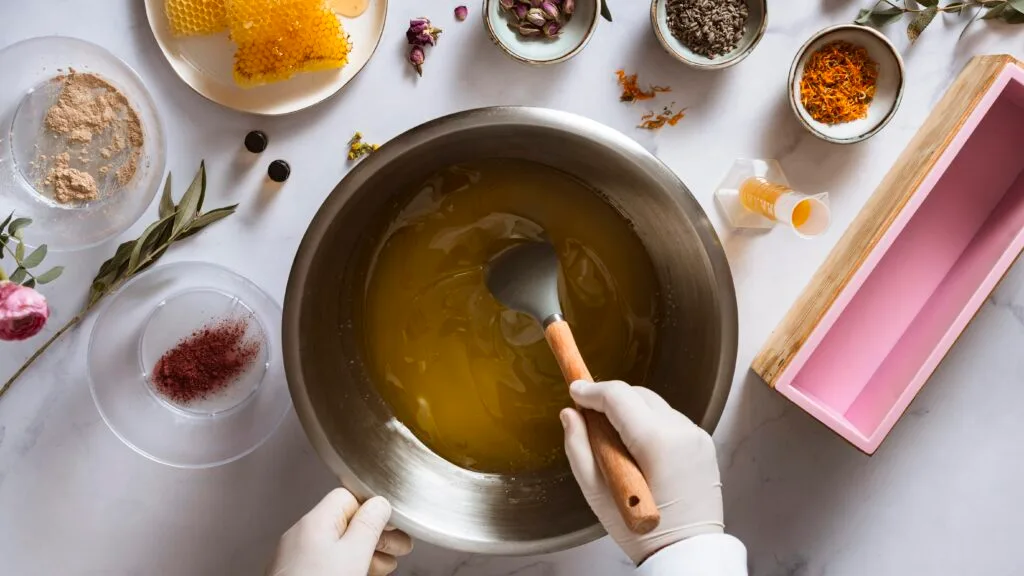
4. Mix the Lye Solution with Oils
Slowly pour the cooled lye solution into the melted oils while stirring. Then, use a stick blender to mix until the soap reaches trace—this is when the mixture thickens to a light pudding consistency.
5. Add Optional Ingredients
At this point, you can mix in essential oils (1-2 tsp) for fragrance and natural colorants (1 tsp) if you want a tinted soap. Stir well to blend everything evenly.
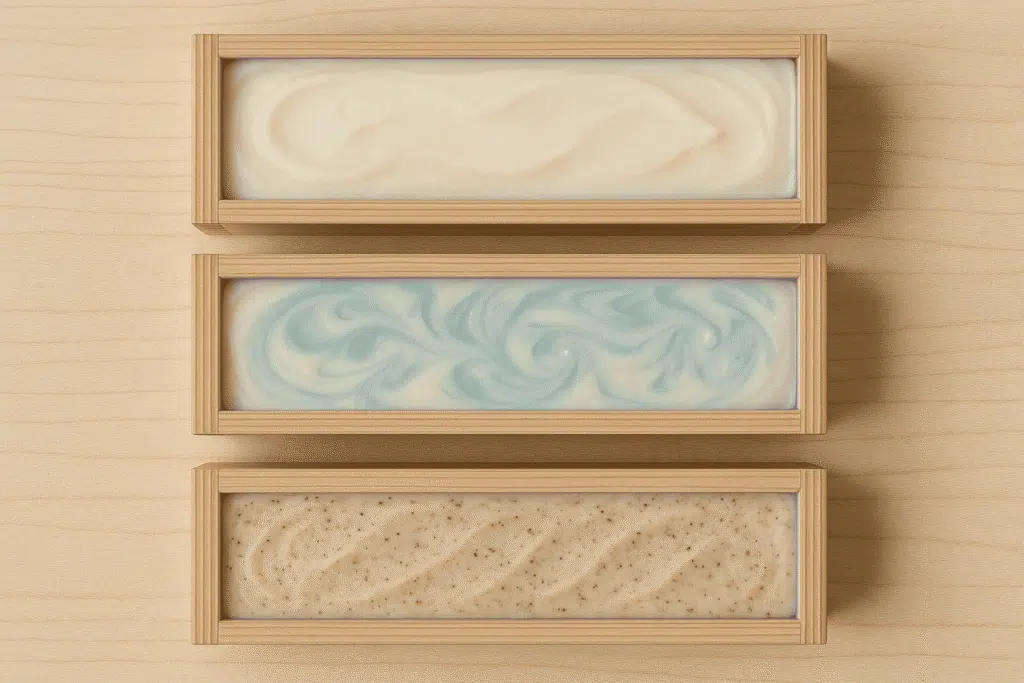
6. Pour Into Mold & Let It Set
Pour the soap mixture into your silicone mold and tap it gently to remove air bubbles. Cover with a towel and let it sit undisturbed for 24-48 hours until firm.
7. Unmold & Cure the Soap
Once the soap has hardened, remove it from the mold and cut it into bars if needed. Place the bars on a drying rack and let them cure for 4-6 weeks—this allows the soap to harden and become milder. The longer it cures, the better it gets!
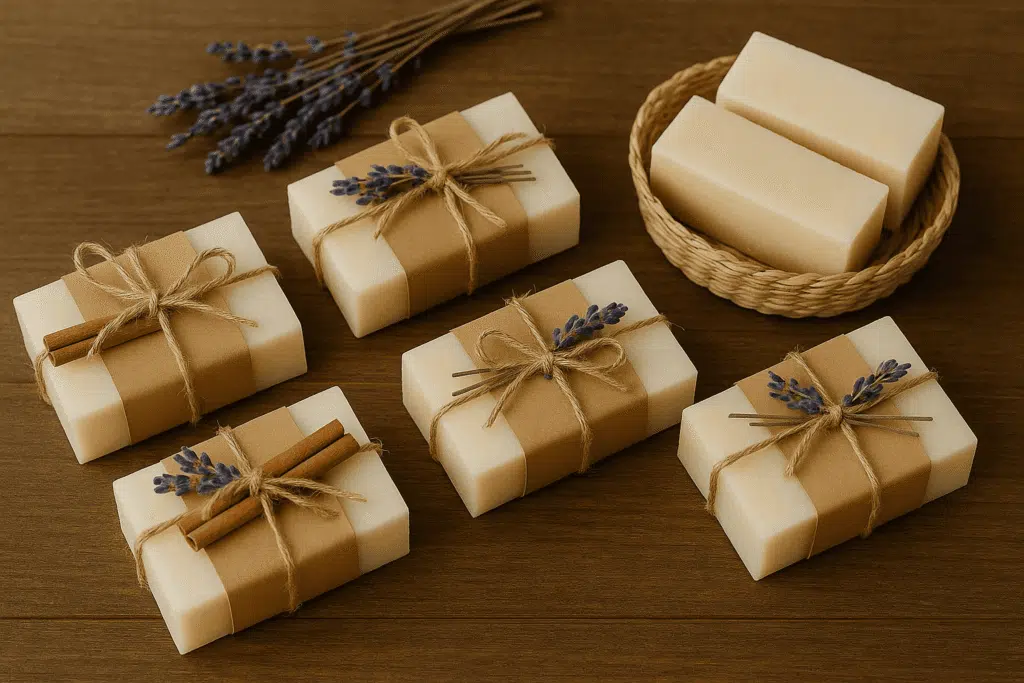
Final Thoughts
Making your own coconut oil soap is a fun and rewarding way to enjoy natural, gentle skincare. The first time I tried it, I was surprised by how simple the process was—the hardest part was waiting for it to cure! But trust me, it’s worth it. The result? A rich, bubbly lather and a soap that leaves your skin feeling fresh and clean. Plus, you can get creative by adding essential oils or natural exfoliants like oatmeal. Whether you’re making it for yourself or as a gift, homemade coconut oil soap is a great DIY project to try!
Super Fat & Lye Calculator Guidelines
If you’re new to soap-making, you might be wondering: What is superfat? And how do I use a lye calculator? Don’t worry—I’ve got you covered! Let’s break it down in a super simple way.
What is Super Fat in Soap-Making?
Superfat refers to the extra oils and butter left in your soap after saponification (the chemical reaction between lye and oils). This extra fat makes your soap gentler, more moisturizing, and less drying.
💡 Think of it as adding a little extra butter to your cookie recipe—it makes them richer and softer!
- Low super fat (0-3%) → More cleansing but can feel drying.
- Medium super fat (5-7%) → Well-balanced, creamy lather (perfect for most soaps).
- High super fat (8-10%) → Extra moisturizing but may reduce lather.
For coconut oil soap, a higher super fat (around 15-20%) is often recommended to balance its strong cleansing power.
How to Use a Lye Calculator (Easy Guide)
A lye calculator helps you find the exact amount of lye (sodium hydroxide) needed based on your chosen oils and super fat percentage. Here’s how you can do it:
1️⃣ Go to a trusted lye calculator like SoapCalc or Bramble Berry’s Lye Calculator.
2️⃣ Enter your oils and butter (e.g., coconut oil, shea butter).
3️⃣ Choose your super fat percentage (5% is a good default, but for coconut oil soap, go up to 15-20%).
4️⃣ Calculate – The tool will tell you the exact amount of lye and water needed.
5️⃣ Double-check the results before starting your batch.
💡 Pro Tip: Always weigh ingredients using a digital scale for accuracy—soap-making is all about precision!
Curing and Storage Methods
After making your natural coconut oil soap, it’s key to focus on curing and storage. This ensures the soap lasts longer and stays in top condition. Proper curing lets the soap dry and harden, making it gentler on your skin.
For the best curing, keep the soap in a spot with good air flow. The temperature should be between 60-70°F (15-21°C). Humidity levels should be around 50%. This setup prevents bacteria and mold, keeping the soap fresh.
Optimal Curing Conditions
To get the best curing, place the soap on a wire rack or tray. This lets air move around each bar. Make sure the soap is away from sunlight and moisture.
Storage Requirements
After curing, store the soap in a cool, dry spot. Use an airtight container or wrap it in paper or cloth. This protects it from moisture and other factors.
By following these steps, your natural coconut oil soap will last longer. You’ll get to enjoy its benefits for a longer time.
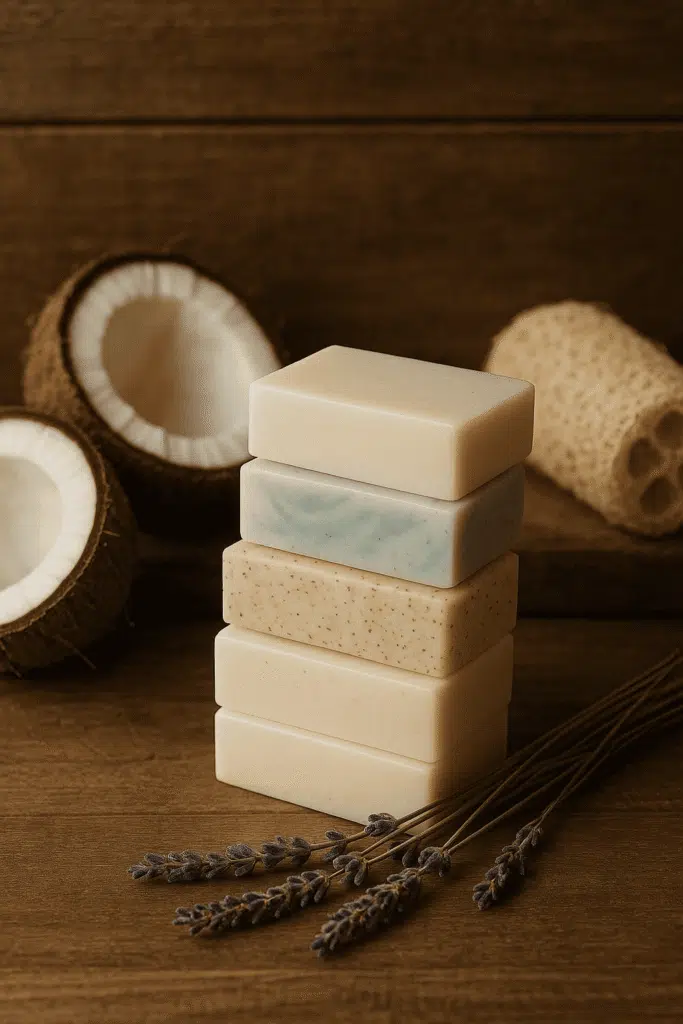
Customizing Your Coconut Oil Soap
Customizing your soap is easy. Just add different scents and oils. For example, lavender oil relaxes you, while tea tree oil fights bacteria. Here are some ideas to start:
| Customization Idea | Benefits |
|---|---|
| Adding essential oils | Unique scents & therapeutic benefits (e.g., lavender for relaxation, tea tree for antibacterial properties). |
| Using natural colorants | Eco-friendly and skin-safe colors (e.g., turmeric for golden yellow, spirulina for green). |
| Experimenting with textures | Exfoliating properties with oatmeal, poppy seeds, or coffee grounds. |
💡 Pro Tip: Add essential oils at trace to retain the scent, and use skin-safe natural additives for extra benefits!
Common Issues While Making Soap
When making diy coconut oil soap, you might run into some problems. As someone who loves making homemade soap with coconut oil, I’ve had my share of issues. These include texture problems and challenges with curing. Here, I’ll share tips on how to solve these common issues and make the perfect soap.

Common Texture Problems
Texture problems are a common issue. If your soap is too soft or too hard, it can be a problem. To fix this, you can adjust the recipe or use different ingredients. For example, adding more coconut oil can make the soap softer. Adding more lye can make it harder.
| Problem | Cause | Fix |
| Soft/Mushy Soap | Too much coconut oil or too little lye. | Ensure correct lye-to-oil ratio using a lye calculator. Cure longer to let excess moisture evaporate. |
| Hard/Brittle Soap | Too much lye or low superfat. | Increase superfat (5-20%) for more moisturizing soap. Use shea butter for extra conditioning. |
Color & Scent Issues
If you’ve ever made soap and ended up with a faded scent or uneven color, you’re not alone! These are some of the most common (and annoying!) issues in soap-making. But don’t worry—I’ve got simple fixes to keep your soap looking and smelling amazing!
| Issue | Cause | Fix |
|---|---|---|
| Faded scent | Essential oils evaporated due to high temperatures. | Add essential oils at trace or use fragrance oils for longer-lasting scents. |
| Uneven color | Not fully mixed or wrong colorant type. | Use natural powders (e.g., turmeric, cocoa powder) and mix thoroughly. |
Curing Challenges
Soap not hardening properly? High humidity can slow curing. Try placing a fan nearby or moving the soap to a drier area.
White powder (soda ash) on the soap surface? This happens when lye reacts with air. To prevent it, spray isopropyl alcohol (91%) on the soap right after pouring.
Tips for Perfect Results Every Time
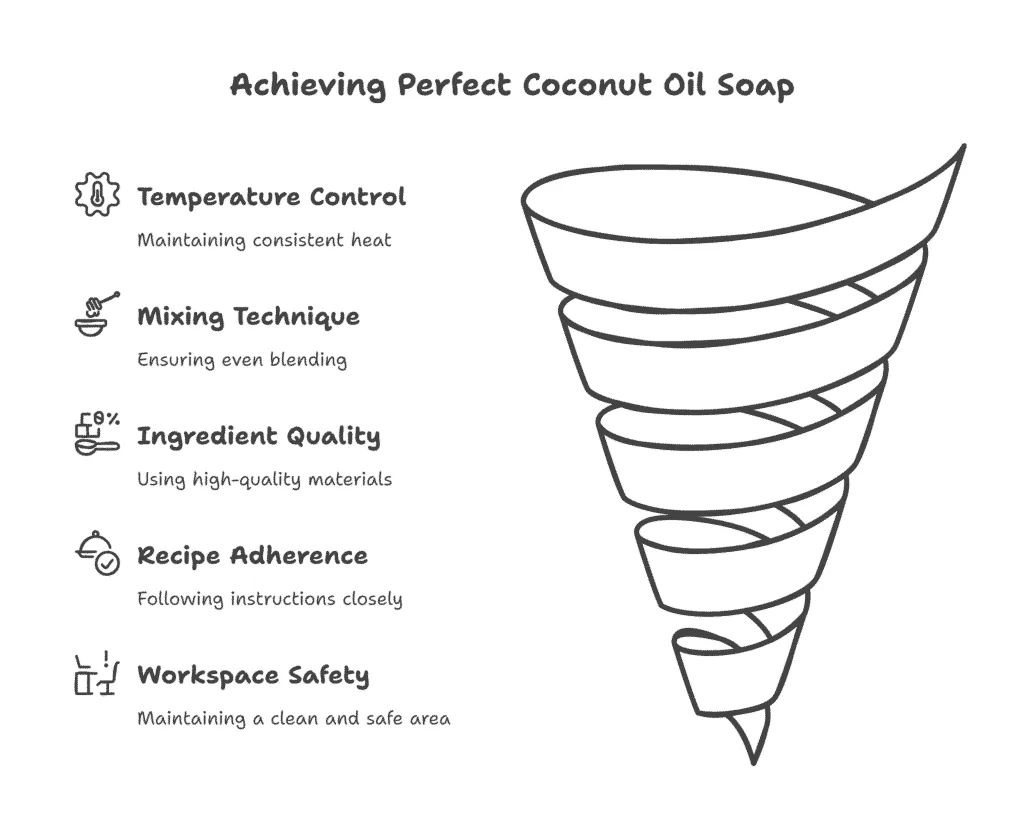
Making a coconut oil soap recipe can be tricky. But, with a few simple tips, you can get perfect results every time. One key thing is to control the temperature. Keeping the temperature right is important for a smooth texture.
To do this, use a thermometer to check your mixture’s temperature. You can also use a heat-resistant glass bowl or a double boiler for a steady temperature. Mixing well is also crucial. An immersion blender or a stick blender helps mix everything evenly and prevents lumps.
- Use high-quality ingredients for the best results
- Follow the recipe carefully and avoid over-mixing
- Keep your workspace clean and well-ventilated to avoid any safety hazards
By following these tips and using a reliable coconut oil soap recipe, you can make beautiful and nourishing soap. Your skin will feel soft and moisturized.
Conclusion
As we wrap up our guide to making coconut oil soap, I hope you’re ready to start your own soap-making adventure. Coconut oil soap is great for your skin and the planet. It’s a win-win choice.
Follow the easy steps in this article to make your own vegan coconut oil soap at home. Don’t be afraid to try new things like different scents and additives. This way, you can make soap that’s just right for you.
Get into the world of natural soap making. It’s a community that values taking care of yourself and the earth. Look for online groups, join local workshops, and meet other soap makers. Share your stories and learn from others.
Start this journey and enjoy making your own coconut soap. It’s a chance to relax, be creative, and appreciate nature’s gifts. Happy soap-making.
FAQ
What are the benefits of coconut oil soap?
Coconut oil is great for soap making. It makes a rich, creamy lather that moisturizes well. It’s also antibacterial and antifungal, making it good for skin health.
What makes this coconut oil soap recipe special?
This recipe uses a cold process method. This lets the ingredients’ natural qualities show. It also uses organic and vegan-friendly ingredients, making it special.
What are the essential tools and materials needed to make coconut oil soap at home?
You’ll need a soap mold, safety goggles, a thermometer, and ingredients like coconut oil and lye. You might also want additives or fragrances.
Can you explain the saponification process and the importance of safety considerations in soap making?
Saponification is the chemical reaction that turns ingredients into soap. It’s key to understand this and to be safe when working with lye. Wear protective gear and follow guidelines.
What is the step-by-step process for making your coconut oil soap recipe?
Making this soap involves measuring ingredients, mixing lye and oils, and pouring the mixture into a mold. I’ll guide you through it for a safe and successful experience.
How do I properly cure and store my homemade soap with coconut oil?
Curing and storing your soap right is crucial. I’ll tell you how to cure it properly and how to store it to keep it fresh and effective.
How can I customize my coconut oil soap to suit my specific needs or preferences?
You can customize your soap by adding different fragrances, colors, or textures. You can also use natural ingredients and essential oils to make it personal.
What are some common issues that can arise when making coconut oil soap, and how can I troubleshoot them?
Issues like texture problems, curing challenges, and color or scent issues can happen. I’ll help you troubleshoot and solve these problems for perfect results.
What are some tips for achieving perfect results when making coconut oil soap?
For perfect results, focus on temperature control and mixing techniques. I’ll share tips on keeping temperatures right and using the right tools for a smooth soap texture.