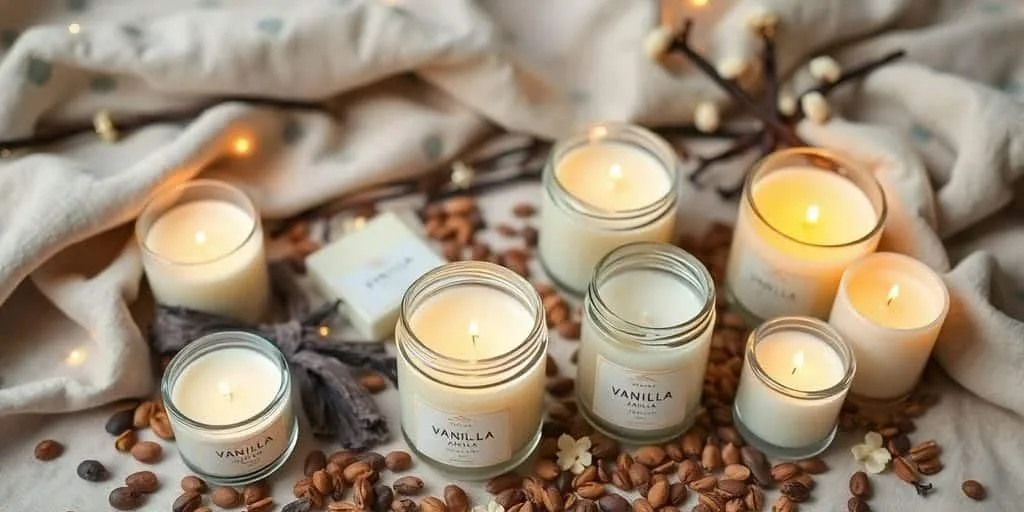
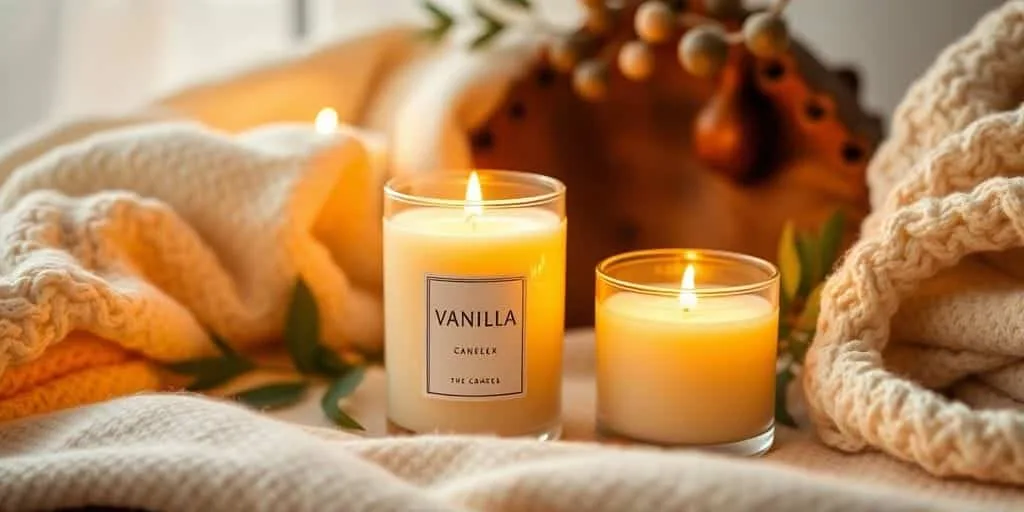
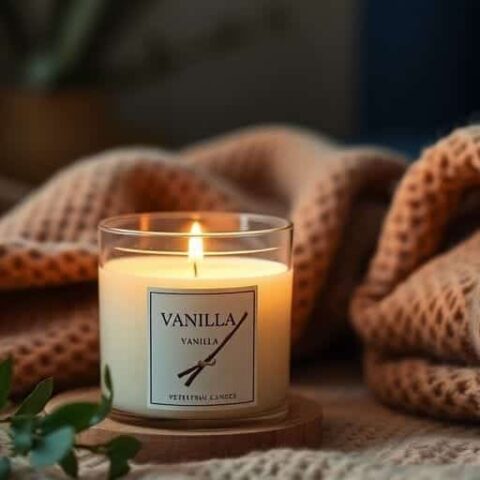
Easy Vanilla Scent Candle Recipe
Buying a vanilla-scented candle is easy, but making your own is so much more satisfying. You know exactly what is inside it no harmful chemicals, just natural wax and quality essential oils. Plus, creating something with your own hands feels amazing. And let’s be real it saves money in the long run.
I remember when I first started making candles, my very first scent was vanilla. It was easy to make, and the fragrance was incredible. Trust me, if you’re new to candle making, this is the perfect scent to start with!

Choosing the Right Wax
To make your own DIY candle it is very important to choose the correct Wax. You have got a few options here, and each has its own thing going on. I personally like beeswax because it is natural and burns clean you can also use soy wax and it is also a natural wax. Paraffin wax is the cheapest, but I try to avoid it. The type of wax you pick really affects how your candle burns and smells.
Selecting Quality Essential Oils
Okay, Selecting the best quality of essential oil is very important. You absolutely need a good vanilla fragrance oil. Cheap oils will give you a cheap-smelling candle, and nobody wants that. I usually go for essential oils because they are natural, but fragrance oils work too. Just make sure they’re specifically made for candles. I have tried using regular fragrance oils before, and they just don’t hold up to the heat. You can also try adding coconut oil to balance the flavor of vanilla.
Ingredients For Vanilla Scent Candle Recipe
- 1 cup (225g) beeswax pellets or grated beeswax or Soy wax
- 1 tbsp vanilla essential oil
Tools For Vanilla Scent Candle Recipe
- 1 cotton wick – Cotton for a steady burn. (If you want to learn how to make a DIY candle wick then check it out)
- A skewer or wick holder – Keeps the wick upright while the wax sets.
- A double boiler – To melt the wax safely
- A thermometer – Helps pour at the perfect temperature.
Step-by-Step Guide to Making Your Candle
Step 1: Prep Your Wick
Before you start melting wax, prepare your candle jar.
Place the wick in the center using a wick sticker or hot glue. Wrap the top of the wick around a skewer or chopstick (You can also use a pencil) to hold it upright. If the wick keeps leaning, tape the skewer across the rim of the jar to keep it steady.

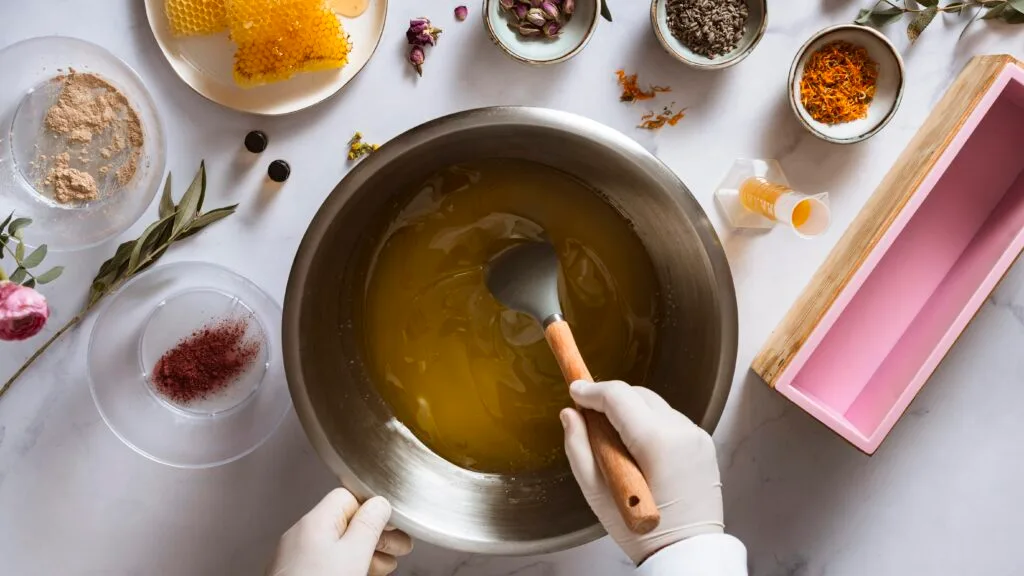
Step 2: Melt the wax
Set up a double boiler by filling a saucepan with 2 inches of water and placing a heatproof bowl or pouring pot on top.
- Add the beeswax pellets or grated beeswax and let it melt slowly over low to medium heat.
- Stir occasionally and heat until it reaches 145–150°F (63–65°C).
Avoid overheating beeswax, as it can discolor and lose some of its natural benefits. If you accidentally overheat it, let it cool slightly before adding fragrance.
Step 3: Add Vanilla for That Cozy Aroma
Once the beeswax is fully melted, remove it from heat and let it cool slightly to 140°F (60°C).
- Stir in 1 tbsp vanilla essential oil (or fragrance oil for a stronger scent).
- Add 1 tbsp coconut oil (optional) to help the candle burn more evenly and enhance the scent throw.
- Stir well for about 30 seconds so the fragrance distributes evenly.
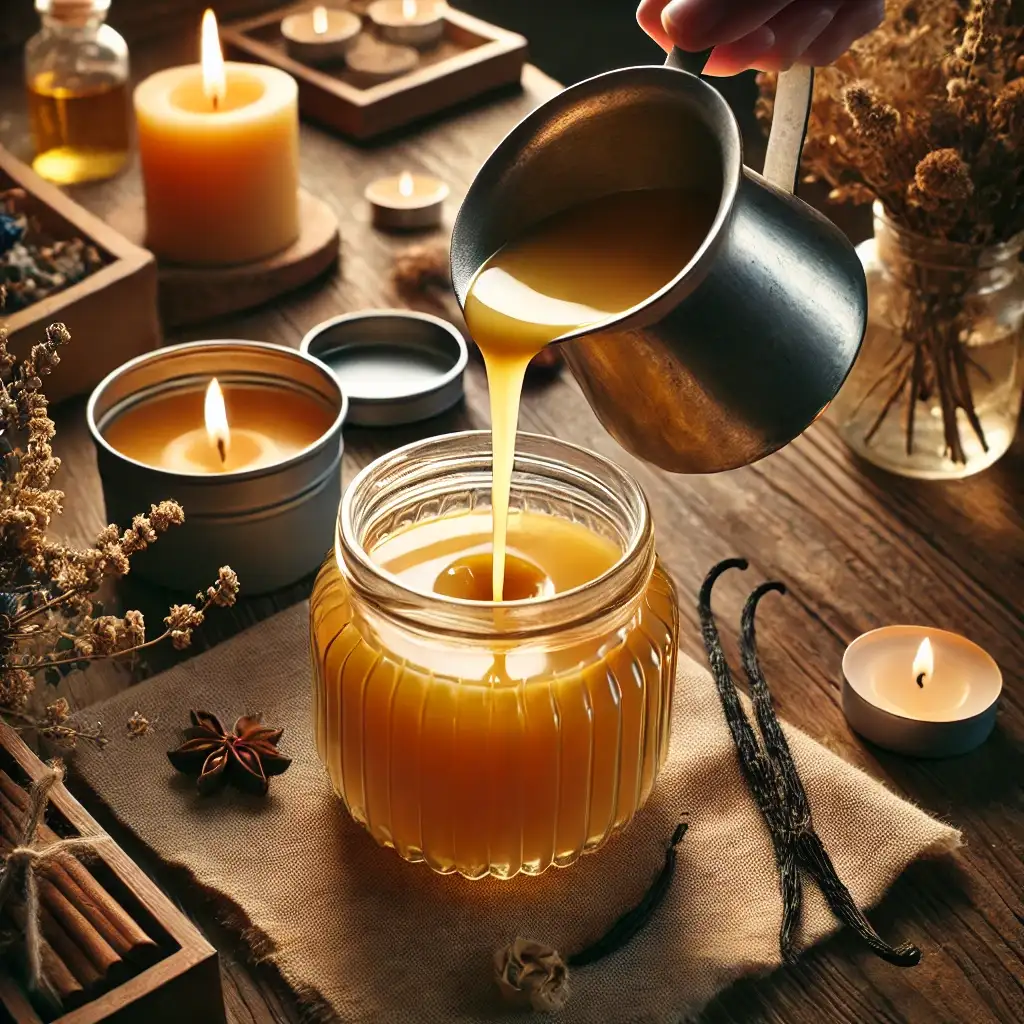
Step 4: Pouring the Wax
- Wait until the wax cools to 130–140°F (54–60°C) pouring too hot can cause cracks or frosting.
- Slowly pour the wax into your container, leaving about ½ inch of space from the top.
- Hold the wick steady as you pour to keep it centered.
- Let the candle sit undisturbed on a flat surface for at least 4–6 hours.
If your candle forms a dip around the wick as it cools, melt a little extra wax and top it off for a smooth finish.
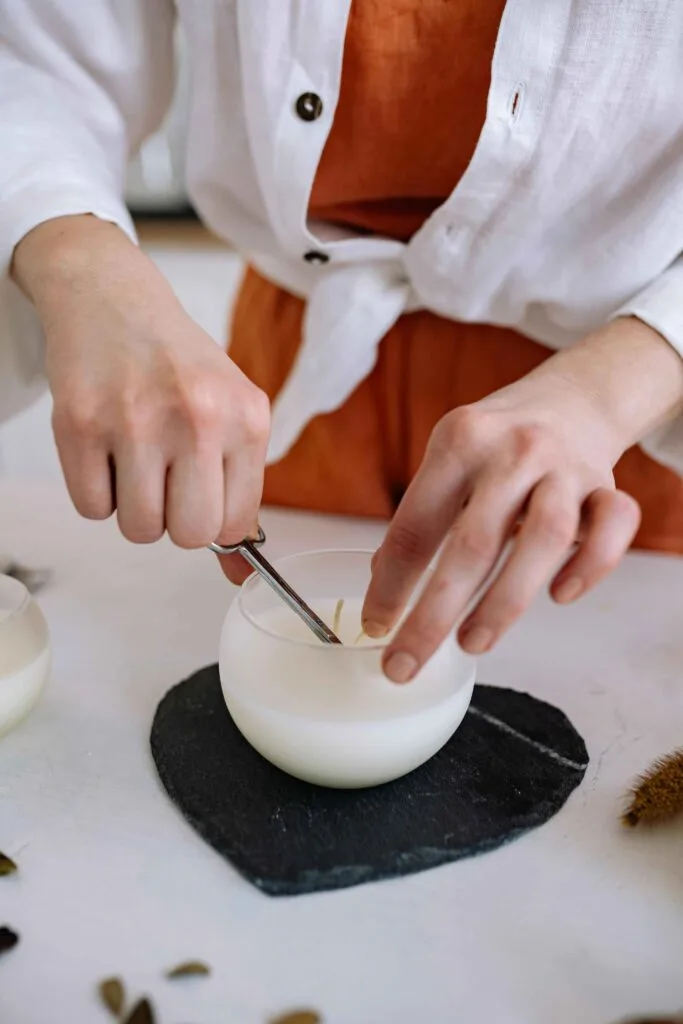
Step 5: Trim the Wick & Light It Up!
Once your candle has fully hardened, trim the wick to about ¼ inch (6mm)—this ensures a clean, steady burn.
- If the wick is too long, the flame will flicker and burn too hot.
- If it’s too short, it might struggle to stay lit.
Now, light it up and enjoy the cozy, natural vanilla-beeswax aroma.
How to make candle scent strong
- Choose Strong Essential Oils – Some oils, like vanilla, cinnamon, and lavender, have better scents throw in candles.
- Choose the Right Wax – Beeswax and soy wax hold less fragrance than paraffin.
- Cure Your Candle – Let it sit for 2–7 days to allow the fragrance to bind with the wax for a stronger, longer-lasting scent.
- Add Essential Oils at the Right Temperature – Mix them into the wax at 130–140°F (54–60°C) to prevent burning off the scent.
- Use the Correct Wick Size – A wick that is too small won’t release enough fragrance a wick that is too big burns too fast. Experiment to find the best size.
- Burn in the Right Space – Candles smell stronger in small, enclosed rooms like bathrooms or bedrooms. Large rooms may need multiple candles.
- Store Properly – Keep your candles in an airtight container or with a lid to preserve their fragrance over time.
How Long Do Vanilla Candles Last?
Vanilla candles using beeswax can last about 12–18 months before the fragrance starts to fade, but the candle itself lasts indefinitely.
Storing Your Candles Correctly
Once your candles are made, storing them is also important. I keep mine in a cool, dark place away from direct sunlight in an airtight container or with a lid to preserve their fragrance over time. This helps prevent the wax from melting or discoloring. Also, make sure to keep them away from anything flammable. I also make sure to trim the wicks before lighting them and never leave a burning candle unattended.
Vanilla Candle Recipe
Ingredients
- 1 cup (225g) beeswax pellets (or grated beeswax) or soy wax
- 2 tbsp vanilla fragrance oil or essential oil
Instructions
1. Prep the Wick: Secure the wick in the center of the jar using a wick sticker or melted wax. Wrap the top around a skewer to keep it straight.
2. Melt the Wax: Using a double boiler, melt the beeswax over low heat until it reaches 145–150°F (63–65°C). Stir occasionally.
3. Add Fragrance: Let the wax cool slightly to 130–140°F (54–60°C), then stir in the vanilla oil for at least 30 seconds.
4. Pour the Wax: Slowly pour into the jar, leaving ½ inch from the top. Let it cool undisturbed for 4–6 hours.
5. Cure for Maximum Scent: Let the candle sit for 2–3 days before lighting to deepen the fragrance.
6. Trim & Light: Trim the wick to ¼ inch (6mm) before burning. Light up and enjoy the warm vanilla aroma!
Notes
1. Temperature matters! Add vanilla oil when the wax is 130–140°F (54–60°C)—any hotter, and the fragrance might burn off!
2. Curing = Stronger Scent – Let your candle sit for 2–3 days before burning. This allows the scent to fully bind with the wax.
3. Storage Tip – Keep in an airtight container in a cool, dry place to preserve the vanilla fragrance for 12–18 months. Avoid direct sunlight!
4. For a stronger scent throw: Burn in a smaller room, use more fragrance oil, or mix in cinnamon or nutmeg for a richer scent.
Frequently Asked Questions
What materials do I need to make a vanilla candle?
You will need beeswax or soy wax, vanilla essential oil, wicks, and a heatproof container.
Can I customize the scent of my vanilla candle?
Yes! You can add other scents like orange or lavender to create a unique fragrance.
How long does it take for the candle to set?
It usually takes about an hour for the candle to harden after pouring.
Is it safe to make candles at home?
Yes, but be careful with hot wax and follow safety guidelines.
Can I use other types of wax besides beeswax?
Yes, you can use soy wax or palm wax as alternatives.
How do I store my homemade candles?
Keep your candles in a cool, dry place away from direct sunlight to preserve their scent and quality.