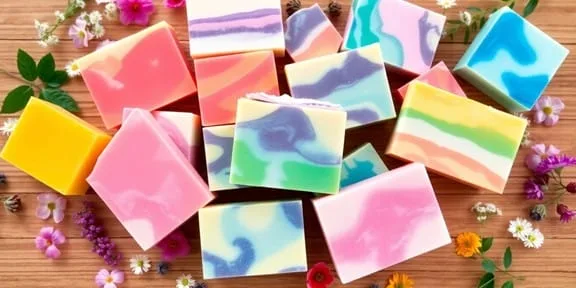
Ultimate Guide to Melt and Pour Soap Recipes
What is Melt and Pour Soap?
When I first got into soap making, I was drawn to the melt and pour soap recipes because it is just so easy to make. Imagine if you are able to make your own DIY soap without dealing with lye, yes I know this can be quite intimidating for beginners. Melt and pour soap is basically a pre-made soap base that you can easily melt which allows you to customize your homemade soap, and then set it into your desired shape. One of the best things about this melt and pour soap recipe is that it hardens pretty quickly, so you don’t have to wait weeks for it to cure, unlike cold process soap and hot process soap.
Benefits of Melt and Pour Soap
There are several reasons why many of us love using the melt and pour method. Here are a few benefits:
- Safety: Since you don’t need to handle lye, it is a safer option, especially if you’re making soap with kids.
- Convenience: The soap is ready to use in just a few hours.
- Customization: You can easily add colors, scents, and even small decorative items to make each soap bar unique.
Common Ingredients Used
The best thing of melt and pour soap is its simplicity. Here is what you generally need:
- Soap Base: This is your starting point. Choose from a variety of bases like glycerin, shea butter, or goat milk.
- Fragrances: Essential oils or fragrance oils can be added, but keep it to a maximum of 3% of the total weight to avoid overpowering the soap.
- Colorants: Mica powders or liquid dyes are popular choices for adding a splash of colors.
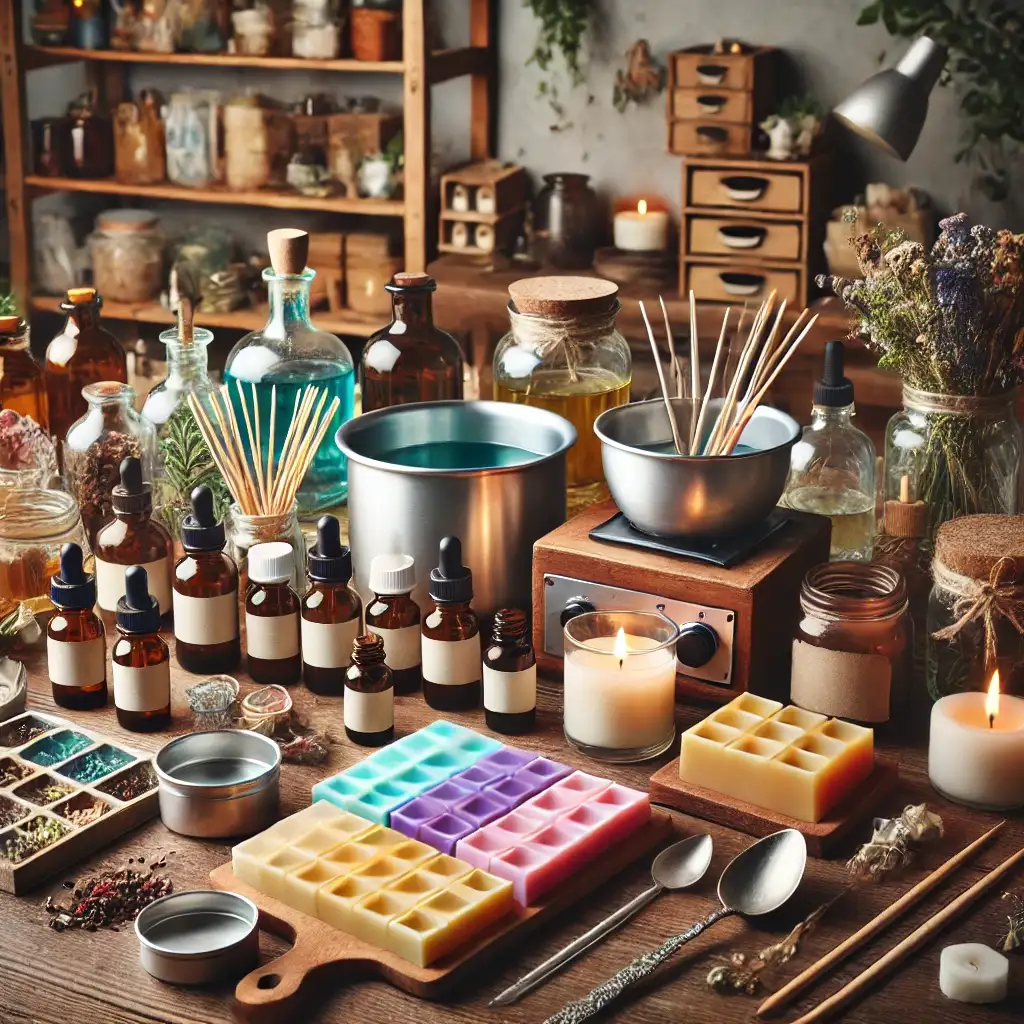
Essential Tools and Ingredients for Soap Making
Must-Have Equipment for Beginners
Getting started with melt and pour soap making is a breeze, especially when you have the right tools at your disposal. Here is a list of equipment that you need in the making process:
- Soap Mold
- Cutting Board and Knife
- Microwave or Double Boiler
- Silicone Spatula
- Digital Scale
Choosing the Right Soap Base
Choosing the right soap base for melt and pour soap recipes is very important for the type of soap you want to make. There are some options available:
- Clear Base: Good for bright colors and a transparent look.
- White Base: Best for soft, pastel colors and a creamy look.
- Goat Milk Base: This helps keep your skin moisturized and is also great for sensitive skin.
- Shea Butter Base: Feels smooth, rich, and also perfect for dry skin.
Fragrance and Color Additives
Now, let us talk about the most fun part of the soap-making process, which is customizing your soap with fragrance and color. For fragrances, you can use essential oils or fragrance oils. Just make sure that your scent ratio should not exceed 3% of the total soap weight. When it comes to colors, you can use:
- Soap Colorants: These are specifically made for soap and they will not bleed or fade.
- Mica Powders: These give a shiny, glittery effect and they also come in many different colors.
- Natural Additives: Things like oats or dried herbs can be added for extra texture and a beautiful and elegant look to your soap.
With these tools and ingredients, you are ready to start your soap-making process. Just remember, the most important part is to have fun and learn different combinations to make your own soap!
Step-by-Step Guide to Making Your First Soap
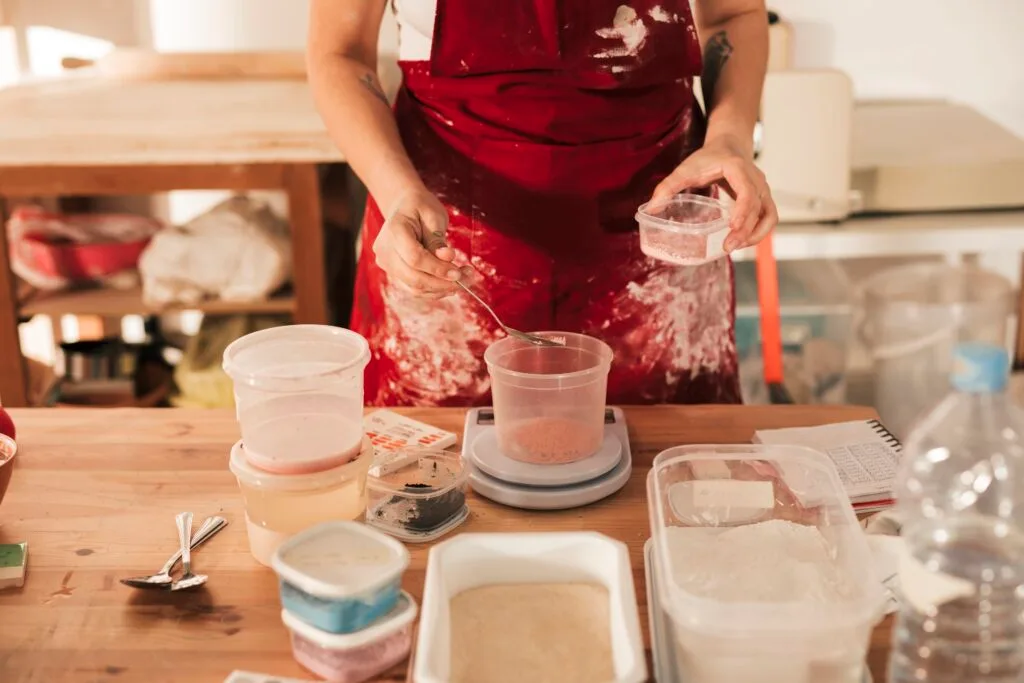
Preparing Your Workspace
Before you even think about melting anything, let’s set up your workspace. A clean and organized area is very important in soap-making process because if things are well organized it will make our soap-making process very easy. Make sure you have all your tools with you. As I said earlier I would like to remind you once again, that you need a microwave or double boiler, a heat-resistant container, a stirring utensil, and of course, your soap mold. There is one habit of mine which I would like to share with you is that while soap making I like to lay out a towel or some paper to catch any spills. Trust me, it makes cleanup very easy.
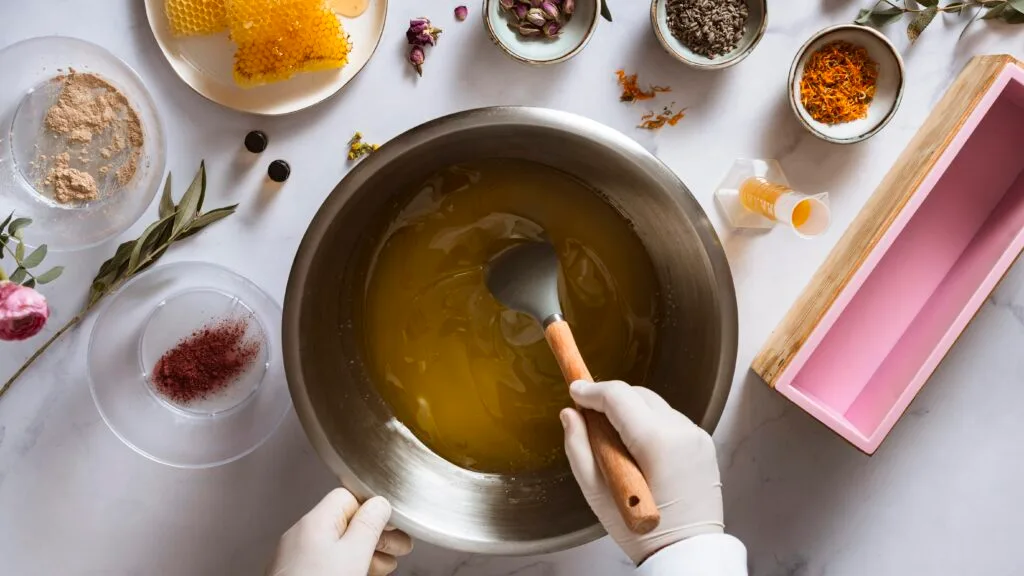
Melting the Soap Base
Now, onto the fun part melting the soap base. First, Cut your soap base into small cubes this will help it melt properly. If you’re using a microwave, heat the soap in 30-second intervals. Stir between each interval to avoid overheating. If you are using a double boiler then put your soap cubes in a heat-safe bowl over hot water. Stir gently until it completely melted. Remember, take your time, and be patient!
Pouring and Setting the Soap
Once your soap base has properly melted then add your fragrance and color, then stir gently. Pour the mixture into your mold, filling it to the top. A quick spray of rubbing alcohol will help remove any bubbles. Now, let it sit without moving. It usually takes a few hours to set, but I like to leave it overnight. When it’s ready, take it out of the mold and now you have officially made your first soap!
Some Melt and Pour Soap Recipes Ideas
- Lavender and Oatmeal Soap: A soap with a nice lavender smell and oatmeal to gently clean the skin. Good for relaxing.
- Citrus Burst Soap: A soap with orange and lemon scents that smell fresh and wake you up.
- Herbal Infusion Soap: A soap with dried herbs like rosemary or mint that feels fresh and good for the skin.
Troubleshooting Common Soap Making Issues
Avoiding Overheating
One of the most common mistakes in melt and pour soap making is overheating the soap base. If the soap base gets too hot, it can make your soap rubbery which is not what we want. To avoid this, always keep an eye on the temperature. I like to use a thermometer and make sure it does not go above 160°F (71.1°C).
If you’re using a microwave, heat the soap in short bursts and stir in between. This helps to distribute the heat properly and prevents any one area from getting too hot.
Dealing with Air Bubbles
Air bubbles can be a bit of a nuisance and they also make soap look very ugly right? To avoid air bubbles, pour your soap slowly into the mold. This will reduce the chance of air getting trapped. Once poured, spray the surface lightly with rubbing alcohol. This little trick pops most bubbles and gives your soap a nice, smooth finish.
Ensuring Even Color Distribution
Getting an even color on a soap bar can sometimes be difficult (don’t worry you have me). If you see that the color in your soap bar isn’t spreading evenly then try adding your dye when the soap is fully melted but not too hot. Stir thoroughly to ensure the color is mixed well. Sometimes there is thin skin might form on the surface as the soap cools. Just stir it back in gently. And remember, if the soap starts to thicken too much before you have finished mixing then a few seconds in the microwave can help thin it out again, making it easier to get that color just right.
Storing Your Handmade Soap
Properly Curing Your Soap
After you pour the melt and soap base into the molds and let it set then the next step is to leave it to cure properly. Curing is important for your soap to harden enough to last longer during use. Since we already know melt and pour soap does not require a long curing time compared to cold-process soap but still it is a good idea to let it sit for a day or two before packaging or using. This helps any excess moisture evaporate, which can prevent issues like sweating later on your soap bar.
Extending the Shelf Life of Soap
To extend the shelf life of soap then you have to store it in a cool and dry place and also away from direct sunlight to keep the soap bar fresh and long lasting. Moisture and heat can cause your soap to sweat or even melt if it is too warm. If you are planning to store your soap for an extended period then consider wrapping it in plastic wrap to protect it from humidity. This will not only extend the shelf life of soap but also keep your soap looking fresh until it is ready to be used.
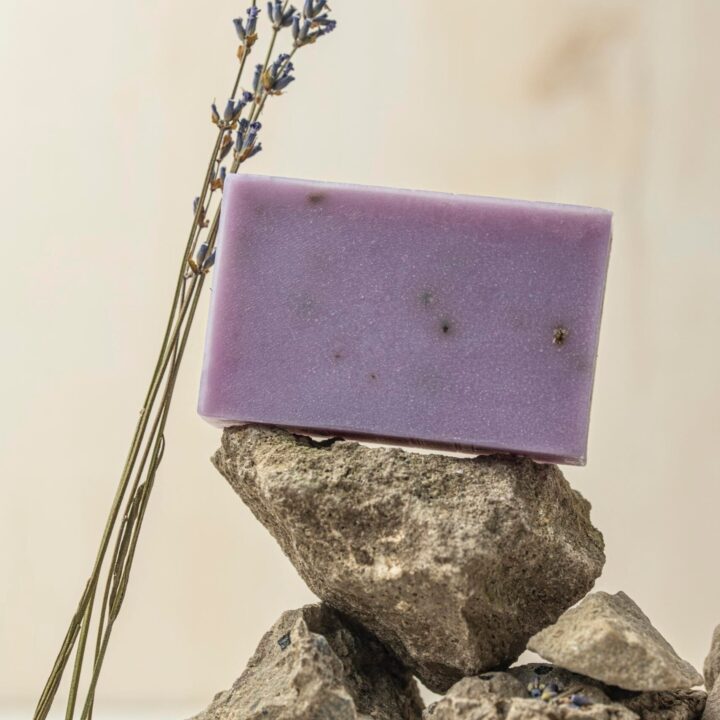
Melt & Pour Soap Recipe with Lavender Bliss
Ingredients
- 1 lb (454 g) Melt and Pour Soap Base
- 1-2 tsp Lavender Essential Oil
- ½ tsp Purple Mica Powder (optional, for color)
- 1-2 tsp Dried Lavender Buds (optional)
- 1 tsp Clear Alcohol ( in a spray bottle)
Instructions
- Cut the Soap Base – Chop the melt and pour soap base into small cubes.
- Melt the Soap – Use a double boiler or microwave in 20-30 second intervals until fully melted. Stir in between.
- Add Lavender – Stir in lavender essential oil and mica powder (if using). Mix well.
- Pour into Molds – Carefully pour the melted soap mixture into silicone molds.
- Spray Alcohol – Lightly mist the top of the soap with isopropyl alcohol to remove air bubbles.
- Let it Set – Allow the soap to cool and harden for about 2-4 hours at room temperature.
- Unmold & Store – Once firm, remove the soap from the mold and wrap it in plastic wrap to prevent sweating.
💜 Tip: If making layered soap, spray alcohol between each layer to help them stick together
Some Of My Soap Making Recipes
2. Cold Process Soap Recipe (more recioes are comming soon).
Frequently Asked Questions
What is melt and pour soap?
Melt and pour soap is a type of soap making where you melt a pre-made soap base and pour it into molds. It’s great for beginners because you don’t have to handle lye.
How do I choose the right melt and pour soap base?
It depends on your needs! Shea butter and goat’s milk bases are moisturizing, while clear glycerin bases work great for vibrant colors and embeds.
How much fragrance should I add to melt and pour soap?
You should keep the fragrance to about 3% of the soap’s total weight. Use a kitchen scale to measure accurately.
What tools do I need to make melt and pour soap?
You’ll need a microwave or a double boiler, a heatproof jug or bowl, a spatula, and a soap mold. Optional items include a thermometer and rubbing alcohol in a spray bottle.
How long does a melt and pour bar of soap last?
A bar of soap made from melt and pour usually lasts 3-4 weeks with daily use, depending on its size and how it’s stored.
Can I use essential oils in my melt and pour soap?
Yes, you can use essential oils, but make sure to check the recommended usage percentage for safety. Keep it around 3% of the total soap weight.
What if I overheat the soap base?
Overheating can cause the soap to burn and become unusable. Melt the soap base in short intervals and stir frequently to avoid this.
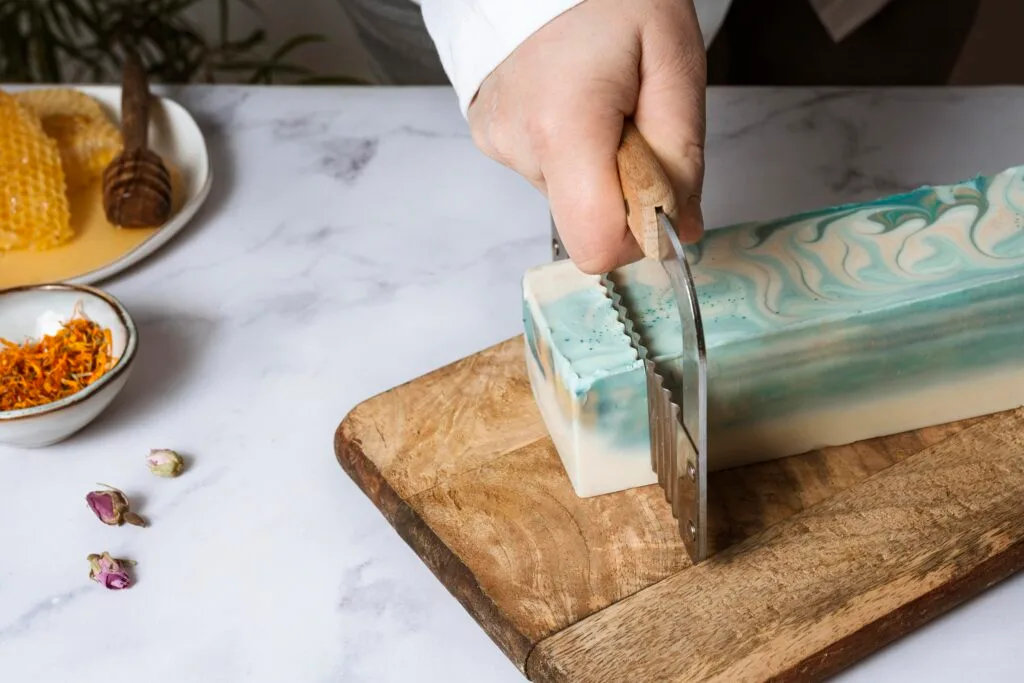
When is the best time to cut the soap after pouring?
Wait until the soap is fully hardened, usually 5-8 hours after pouring, before you cut the soap into bars.
How can I make my soap more moisturizing?
Try using a goat’s milk soap base or adding a bit of shea butter or a moisturizing oil like sweet almond oil.
Can I remelt my melt and pour soaps if I make a mistake?
Yes! Melt and pour soaps can be remelted and adjusted as long as they haven’t been overheated too many times.